 Main Menu
Book & Article Categories
- Main Menu
Book & Article Categories
- Main Menu
Collections
Explore all collections
Oops! Something went wrong while submitting the form.
Articles & Books From Food & Drink
Cheat Sheet / Updated 03-09-2026
Whether you’re building your first spice collection or you’re ready to explore some new-to-you global flavors, this Cheat Sheet helps you spice like a pro! Discover how to get started with spices, identify spice families, understand common food and spice pairings, know when to add spices and how to source them .
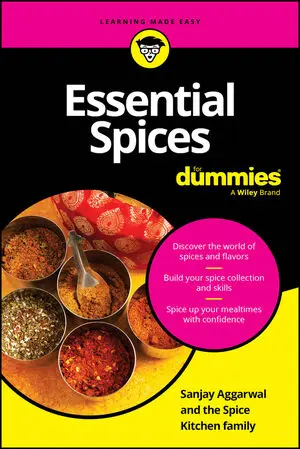
Add flavor and wellness to every meal with the power of essential spices Spices can add a flavorful kick to your food, and they can also add nutritional value, improve gut health, boost immunity, and beyond. Essential Spices For Dummies teaches you how to store and care for your spices, learn their flavor profile, and more!
Article / Updated 02-10-2026
Chocolate truffles seem so decadent, but they're deceptively inexpensive to make — so they're perfect for gifts for Valentine's Day, Christmas, and birthdays. Homemade chocolate truffles can be every bit as smooth and rich as the ones from gourmet chocolatiers. Just be sure to use the very best chocolate you can afford when making this recipe.
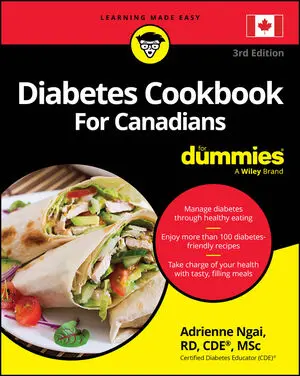
Diabetes Cookbook For Canadians For Dummies, 3rd Edition helps you manage your condition while eating well. Inside, you'll find easy-to-follow recipes for every meal, to the point information from the latest Diabetes Canada Clinical Practice Guidelines, and guidance on treatments and lifestyle changes that can help you be and feel better.
Cheat Sheet / Updated 09-30-2025
For the more than four million Canadians who have diabetes, eating a balanced, nutritious diet is an essential part of maintaining good health. If you have diabetes, there are some great websites that you can consult for recipes, meal planning suggestions, and nutritional information. You can also follow some helpful tips when preparing food at home or eating out at a restaurant, so no matter where you are, you can maintain a healthy diet and keep your diabetes in check.

Quench your thirst for zero-proof drinks Non-Alcoholic Drinks For Dummies is full of recipes for non-alcoholic libations. With over 300 recipes for the home mixologist, this book is a great place to start learning how to make and serve tasty and satisfying alcohol-free drinks. You'll learn the history of non-alcoholic drinks, great zero-proof brands to try, and important tools and ingredients you'll need to strengthen your mixing skills.
Cheat Sheet / Updated 07-09-2025
Non-alcoholic (NA) or alcohol-free drinks aren’t just for pregnant women or designated drivers anymore, nor should they be. For many, not drinking alcohol is simply a lifestyle choice. Everyone should be able to order whatever they want and feel comfortable when participating in a bar or party experience. Whether you're a professional or home bartender, you should be offering non-alcoholic options (besides just soda or water) to your guests.
Cheat Sheet / Updated 06-23-2025
Selecting a wine you like is easy when you know how to taste wine, can use appropriate terms to describe wine, can decode wine names, are happy to approach the selecting process with confidence, and know a little about what wine goes well with what food. This Cheat Sheet is designed to help you do just that!Quick guide to wine tastingKnowing how to taste wine not only helps you look like you know what you’re doing — it also helps you enjoy all the aromas and flavors that the winemaker intended.

Become a wine connoisseur with this fun guide to the complex world of wine Wine For Dummies helps you explore everything there is to know about wine—the different regions, types, flavor profiles, pairing techniques, and beyond. This edition is updated with the latest, must-know wine varieties and styles, so you can start building your collection (or just know what to order when you're out at restaurants) and discover pro tips on how to sip, share, and store it.
Article / Updated 05-02-2025
Want to be the life of the party? Learn how to make a margarita that’s sure to be a hit! This margarita recipe is easy to follow and will have your guests coming back for more. Whether you’re a professional bartender or just want to impress your friends, this classic drink is a must-have in your repertoire. Ingredients1 oz.
