


Most of the objects on your slides are text objects, which let you type text on your slides.
Every slide has a slide layout that consists of one or more placeholders. A placeholder is simply an area on a slide that’s reserved for text, clip art, a graph, or some other type of object. For example, a slide that uses the Title layout has two placeholders for text objects: one for the title and the other for the subtitle. You use the Slide Layout task pane to select the layout when you create new slides. You can change the layout later, as well as add more objects to the slide. You can also delete, move, or resize objects if you want.
You can add many different types of objects, such as clip art, charts, graphs, shapes, and so on. You can add more objects to your slide with one of the tools that appears on the Drawing toolbar at the bottom of the screen or by using the icons that appear in the center of slides created using the Content layouts.
Each object occupies a rectangular region on the slide. The contents of the object may or may not visually fill the rectangular region, but you can see the outline of the object when you select it.
Objects can overlap. Usually, you don’t want them to, but sometimes doing so creates a jazzy effect. You may lay some text on top of some clip art, for example.
How to select objects in PowerPoint 2019
Before you can edit anything on a slide, you have to select the object that contains whatever it is that you want to edit. For example, you can’t start typing away to edit text onscreen. Instead, you must first select the text object that contains the text you want to edit. Likewise, you must select other types of objects before you can edit their contents.Note that you must be in Normal view to select individual objects on the slide. In Slide Sorter view, you can select whole slides but not the individual elements on them.
Here are some guidelines to keep in mind when selecting objects:
- Text objects: To select a text object so that you can edit its text, move the insertion point over the text that you want to edit and then click. (On a touchpad, double-tap the text.) A rectangular box appears around the object, and a text insertion point appears so that you can start typing away.
- Non-text objects: Other types of objects work a little differently. Click an object, and the object is selected. The rectangular box appears around the object to let you know that you’ve hooked it. After you’ve hooked the object, you can drag it around the screen or change its size, but you can’t edit its contents.
- The Ctrl key: You can select more than one object by selecting the first object and then holding down the Ctrl key while clicking to select additional objects.
- Click and drag: Another way to select an object — or more than one object — is to use the insertion point to drag a rectangle around the objects that you want to select. Point to a location above and to the left of the object(s) that you want to select, and then click and drag the mouse down and to the right until the rectangle surrounds the objects. When you release the button, all the objects within the rectangle are selected.
- The Tab key: Also, you can press the Tab key to select objects. Press Tab once to select the first object on the slide. Press Tab again to select the next object. Keep pressing Tab until the object that you want is selected.
Pressing Tab to select objects is handy when you can’t easily point to the object that you want to select. This problem can happen if the object that you want is buried underneath another object or if the object is empty or otherwise invisible and you’re not sure of its location.
How to resize or move objects in PowerPoint 2019
When you select an object, an outline box appears around it, as shown in Figure 2-1. If you look closely at the box, you can see that it has love handles, one on each corner and one in the middle of each edge. You can use these love handles to adjust the size of an object. You can also grab the box edge between the love handles to move the object on the slide. (Technically, the love handles are called sizing handles.)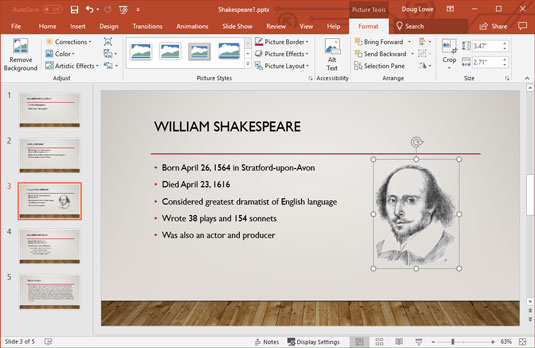 You can resize this object by taking hold of its love handles.
When you move or resize an object, the object will have a tendency to align itself with nearby objects. You’ll see alignment lines pop up when you move the object into alignment with other objects on the slide. If you release the mouse button when the alignment marks appear, the object will snap to the alignment indicated.
In addition, for many types of objects, a circular arrow called the rotate handle appears, floating above the object. You can rotate the object by grabbing this handle and dragging it around in a circle. (Not all types of objects can be rotated, however. For example, you can’t rotate charts.)
To change the size of an object, click the object to select it and then grab one of the love handles by clicking. Hold down the mouse button and then move the mouse to change the object’s size.
The various handles on an object give you different ways to change the object’s size:
- The handles at the corners enable you to change both the height and the width of the object.
- The handles on the top and bottom edges enable you to change just the object’s height.
- The handles on the right and left edges change just the width of the object.
Changing a text object’s size doesn’t change the size of the text in the object; it changes only the size of the frame that contains the text. Changing the width of a text object is equivalent to changing margins in a word processor: It makes the text lines wider or narrower. To change the size of the text within a text object, you must change the font size.
To move an object, click anywhere on the outline box — except on a love handle — and then drag the object to its new locale. Note that for shapes and other graphic objects, you don’t have to click precisely on the outline box — you can click and drag anywhere within the object to move it. But for objects that contain text, you must click the outline box itself to drag the object to a new location.
The outline box can be hard to see if you have a fancy background on your slides. If you select an object and have trouble seeing the outline box, try squinting or cleaning your monitor screen. Or, in severe weather, try selecting the View tab on the Ribbon and then choosing one of the Color/Grayscale options:
- Color: Displays slides in full color
- Grayscale: Displays colors as shades of gray
- Pure Black and White: Shows the slides in black and white
