


Word 2013 lets you spew out custom email messages by using the E-Mail option for mail merge. This option works only when you configure the Microsoft Outlook program on your computer. After that’s done, you start the main document for your e-mail merge by obeying these steps:
Press Ctrl+N to create a fresh document.
Choose any of the Blank document template and a blank document will appear.
On the Mailings tab, choose Start Mail Merge→E-Mail Messages.
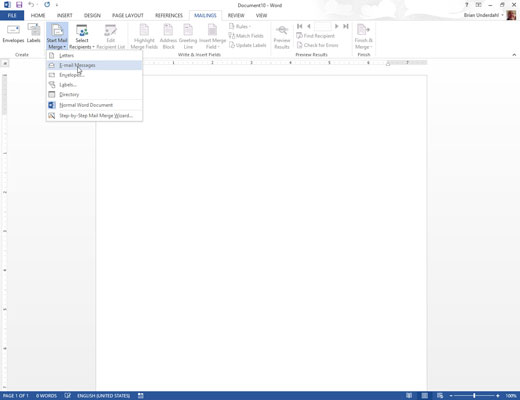
Word changes to web Layout view, used for creating Internet documents in Word.
Create your mail message. If you anticipate inserting fields in the message, type them in ALL CAPS.
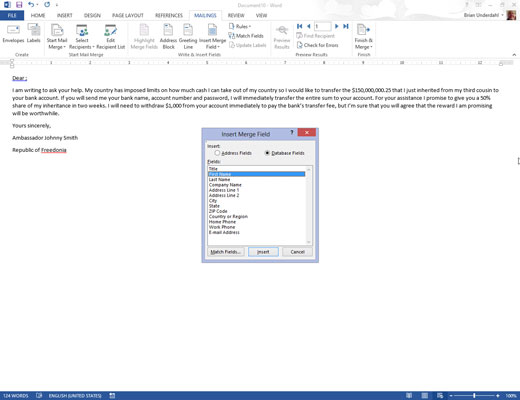
Normally, an e-mail mail merge doesn’t have fields in the document, though there’s no rule against using them. Still, putting someone’s name or other personal information in the message removes the stigma of a mass e-mail form letter.
Don’t forget to save your document!
The primary field you use when merging an e-mail document is the recipient’s e-mail address. You can’t e-mail-merge without it.
