


Suppose that your company’s marketing department wants to be notified any time a current or prospective customer mentions your corporate handle on Twitter. Without Logic Apps, your developers would have to register for a developer Twitter account and API key, after which they’d need to immerse themselves in the Twitter API to understand how to integrate Twitter with your corporate notification platform.
Instead, your developers can configure a Logic App to trigger on particular Twitter tweets and send an email message to an Outlook mailbox without knowing Twitter or Office 365 APIs.
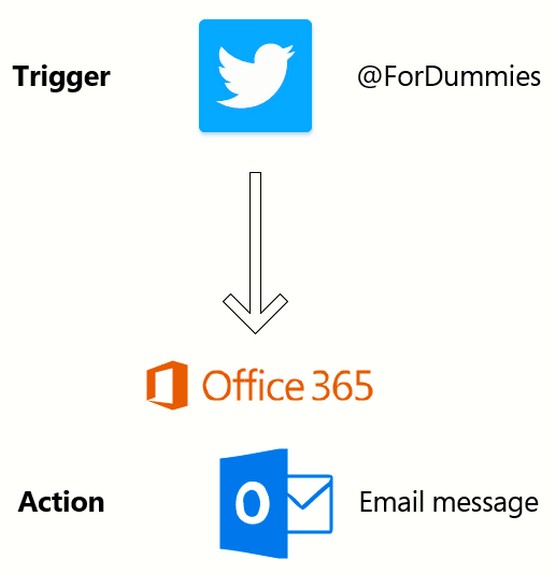 The workflow for an Azure Logic App.
Creating an Azure Logic App
You’re going to create a Logic App that triggers on mentions of the keyword Azure in public tweets. The resulting action sends email notifications to a mailto:[email protected] designated email address. You’ll develop your Logic App in three phases:- Deploying the Logic App resource
- Defining the workflow
- Testing the trigger and action
Deploying the resource in the Azure portal
Follow this procedure to create the Logic App resource:- In the Azure portal, browse to the Logic Apps blade, and click Add.The Create blade opens.
- Complete the Logic App Create blade.
There’s not much to creating the resource. Provide the name, subscription, resource group, and location, and specify whether you want to monitor with Log Analytics.
- Click Create to submit the deployment.
When deployment is complete, click Go to Resource in the Azure notification menu to open the Logic App. You’ll be taken to the Logic Apps Designer by default.
- Click the X button in the top-right corner of the interface to close the blade.
Defining the Azure Logic App workflow
Follow these steps to define the Logic App workflow:If you want to follow along with this exercise, you need Twitter and Office 365 accounts. Twitter accounts are free, but Office 365 typically is a paid SaaS product. If you like, use another email account (such as Gmail). The Logic Apps connector library is so vast, chances are good that you’ll find a service that works for you.
- Go to your new Logic App’s Overview blade.
- Choose Logic App Designer from the Settings menu.
This command takes you to the view you saw the first time you opened the Logic App.
- Scroll to the Templates section, and select Blank Logic App.
Starting with a blank Logic App enables you to become more familiar with the workflow design process, but Azure provides lots of templates and triggers that you can use for other purposes.
- In the Search Connectors and Triggers field, type Twitter.
- In the search results, select the Twitter trigger category and then click the When a New Tweet Is Posted trigger.
- Click Sign In, and log in to your Twitter account.
- Complete the When a New Tweet Is Posted form.
Maybe you want the Logic App to trigger whenever someone mentions the keyword Azure in a tweet, so you complete the options this way:
- Search Text: “Azure”
- Interval: 1
- Frequency: Minute
Configuring a Logic App to trigger on the keyword Azure generates lot of trigger events and creates a potentially bad signal-to-noise ratio in your results. If you’re creating a Logic App for this purpose, experiment with writing more-granular trigger keywords to produce the results you desire.
- Click New Step.
- Scroll through the connector library list and look for Outlook.
- When you find the Outlook connectors, click the Office 365 Outlook connector.
- Search the actions list for Send, and select the Send an Email action.
- In the Office 365 Outlook connector dialog box, click Sign In, and authenticate to Office 365.
- Complete the Send an Email dialog box, preferably using dynamic fields.
This step is where the procedure can get a bit messy.
- Put your destination Office 365 email address in the T: field.
- Place your cursor in the Subject field.
- Click Add Dynamic Content to expose the dynamic content pop-up window.
Dynamic fields allow you to plug live data into your workflow. Dynamic content in a Logic App.
- Click Save.
Don’t overlook this step! It’s easy to miss.
Testing the Logic App trigger and action
To trigger the action, follow these steps:- On the Logic App workflow toolbar, click Run.
You must— absolutely must — switch the Logic App to a running state for it to catch the trigger.
- On Twitter, and post a tweet that includes a reference to Azure.
- Await notification.
The tweet should trigger an email to the address you designated.
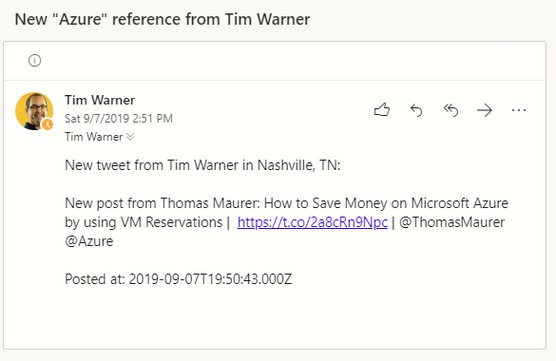 An email indicating that the Logic App works.
Another place to check workflow run status is the Overview page, which shows how many times the trigger was tripped, the workflow run, and/or any errors.
