


The Pages app on your iPad is the word-processing and page-layout tool in the iWork suite of apps. As is the case in most word-processing programs, a ruler at the top of a page in Document Editing view lets you set basic formatting.
The ruler can be hidden, but tapping in the document displays it, as shown in this figure. Tapping text also displays the formatting toolbar along the bottom of the screen, as shown in this same figure. The small X-in-a-circle to the right of the ruler lets you hide the ruler when you no longer need it.
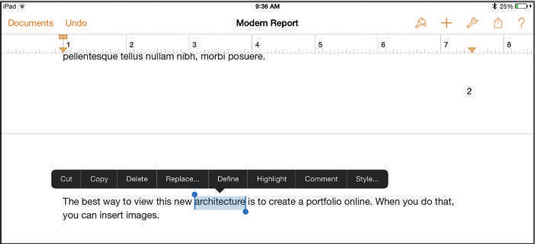
The ruler shows you the settings for whatever is selected in the document. Tap text in the document, and the ruler is immediately enabled and reflects the settings for the selection (in this case, the margins). Tapping in the document may also bring up the onscreen keyboard, and selection buttons, as shown in this figure. You can use them to use features such as cut, copy, delete, and paste.
A single tap brings up the selection buttons, a double-tap selects the word at the insertion point, and a triple-tap selects the paragraph and brings up slightly different selection buttons.
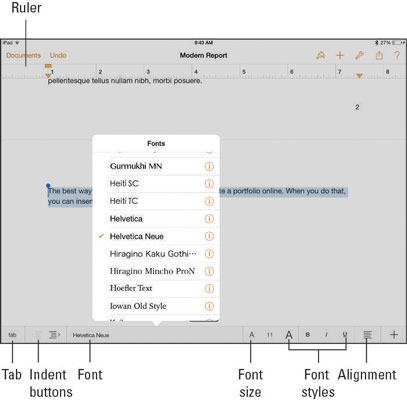
The Formatting bar along the bottom of the screen provides basic formatting for the current selection. The tools on the ruler that can be used on the selection (from left to right in the figure) are described in this list:
Tab: Tap this button to set new tab stops.
Indent: Tap either of the Indent buttons to indent text in one level or out one level at a time.
Font: In the figure, the font is Helvetica Neue. Tap the font name to open a popover with a list of fonts to select from.
Note that available fonts in Pages on iPad are fewer than in Mac or Windows programs, and you can’t add fonts as you can on a computer. So if a font isn’t supported on iPad, another font is substituted, which could affect layout and appearance adversely.
Font Size: Tap the large A on the right to enlarge selected text by one point; tap the smaller A on the left to decrease the text size. By using the tool in the middle, you can set the font size to an exact number.
Font Styles: You can choose bold, italic, or underlining.
Alignment: The selected paragraph can be aligned to the left, center, or right, or justified so that both margins are straight with no ragged edges. You don’t have to select the paragraph with a triple-tap for alignment to work. If you have selected a word or an insertion point, the paragraph containing either item is the selected paragraph.
Insert: Tapping the last button on the Formatting toolbar displays a menu of insertion commands including Comment, Link, Page Break, Column Break, or Footnote.
Feel free to experiment with the formatting within your Pages documents, and remember that the Undo button in the upper-left is there to help you out if you change your mind about something you’ve done.
Most buttons on the ruler require you to simply tap them, but some (for example, the Fonts and Font Size buttons) open their own popovers for further selections; refer to the figure, which shows the Fonts popover.
You can also use the ruler to set the margins for paragraphs. Just slide the indicators along the ruler. Note that the top indicator for the left margin reflects the margin of the first line in a paragraph; the lower indicator is the left margin of all other lines in the paragraph.
You can indent the first line of a paragraph, but you can also outdent it (or provide a hanging first line); an outdent works well in a list.
