


animation() modifier on it. SwiftUI animates any changes made to animatable properties of a view. For example, the various properties of a view in SwiftUI — such as its color, opacity, rotation, size, and other properties — are all animatable. As usual, the best way to understand this concept is to use an example.First, create a rounded button that shows the Confirm caption:
struct ContentView: View {    var body: some View {
        Button(action: {
        }) {
            Text("Confirm")
            .bold()
        }
        .padding(40)
        .background(Color.green)
        .foregroundColor(.white)
        .clipShape(Circle())
    }
}
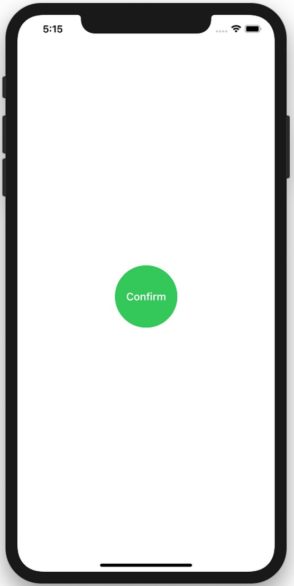 Displaying the rounded Button view in SwiftUI.
Apply some scaling (zooming) to the button using the scaleEffect() modifier:
struct ContentView: View {
    @State private var scaleFactor: CGFloat = 1    var body: some View {
        Button(action: {
        }) {
            Text("Confirm")
            .bold()
        }
        .onAppear(perform: {
            self.scaleFactor = 2.5
        })
        .padding(40)
        .background(Color.green)
        .foregroundColor(.white)
        .clipShape(Circle())
        .scaleEffect(scaleFactor)
    }
}
What you want to do here is zoom the button to two and a half times its original size. The scaling will be performed as soon as the Button view is shown in SwiftUI. The following image shows the button zoomed in to two and a half times its original size when it first appears.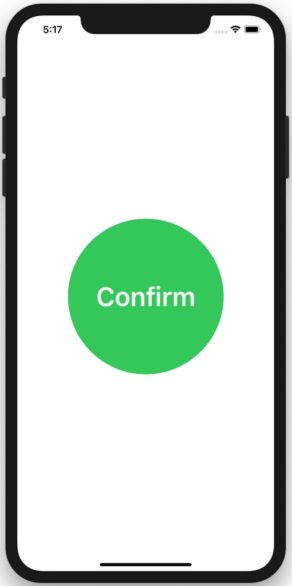 Zooming the Button view two and a half times in SwiftUI.
What you really want is to slow down the scaling, so that users can see the zooming-in process. For this, you can use the animation() modifier on the Button view:
struct ContentView: View {
    @State private var scaleFactor: CGFloat = 1    var body: some View {
        Button(action: {
        }) {
            Text("Confirm")
            .bold()
        }
        .onAppear(perform: {
            self.scaleFactor = 2.5
        })
        .padding(40)
        .background(Color.green)
        .foregroundColor(.white)
        .clipShape(Circle())
        .scaleEffect(scaleFactor)
        .animation(.default)
    }
}
The .default property actually belongs to the Animation struct, so you can rewrite the above statement as follows:
.animation(<strong>Animation</strong>.default)When you now load the Button view again, the button zooms in two and a half times.
Specifying the type of animation in SwiftUI
By default, the button will zoom in at a linear speed. You can also use theeaseInOur() modifier if you want the animation to start slow, pick up speed, and then slow down again:
        .animation(
            .easeInOut(duration: 2)
        )
The duration parameter indicates how much time is given for the animation to complete in SwiftUI. In this example, the zoom animation must complete in two seconds.If you want to start fast and then slow down, use the easeOut() modifier:
         .animation(
            .easeOut(duration: 2)
        )
Both the easeInOut() and easeOut() modifiers are type methods of the Animation struct.
Repeating the animation in SwiftUI
Many times, you want the animation to repeat a number of times. For this you can apply the repeatCount() modifier: .animation(
Animation.easeInOut(duration: 2)
.repeatCount(2, autoreverses: true)
)
The easeInOut() is a type method of the Animation struct, and it returns an Animation struct. So, in this case, you call the repeatCount() modifier of the Animation struct to repeat the animation a number of times (twice, in this case). The autoreverses parameter allows you to reverse the animation, so for this particular case the size of the button changes from small to big, and then reverses and changes from big to small.The image below shows the animation that is repeated twice. Notice that at the end of the second animation, the button reverts back to the larger size as specified in the scaleFactor state variable:
.scaleEffect(scaleFactor) // changed to 2.5 in onAppear()
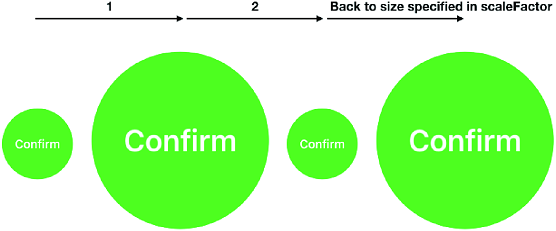 Animating the changing of the scale of the button.
If you want the animation to repeat forever, use the repeatForever() modifier:
        .animation(
            Animation.easeInOut(duration: 2)
                .repeatForever(autoreverses: true)
        )
Stopping the animation in SwiftUI
Although you can animate nonstop in SwiftUI, there are times where you need to stop the animation. Here’s another example:struct ContentView: View {
@State private var opacity:Double = 1.0 var body: some View {
Button(action: {
})
{
Text("Click Me")
.fontWeight(.bold)
.font(.title)
.foregroundColor(.blue)
.padding()
.background(Color.yellow)
.overlay(
Rectangle()
.stroke(Color.blue, lineWidth: 5)
)
.opacity(opacity)
.onAppear() {
let baseAnimation =
Animation.linear(duration: 1)
withAnimation (
baseAnimation.repeatForever(
autoreverses: true))
{
self.opacity = 0.2
}
}
}
}
}
The preceding code snippet shows a Button view with its opacity initially set to 1.0. When it appears, you perform a linear animation (animating with constant speed) to change the opacity of the button down to 0.2, all within a duration of 1 second. In the next 1 second, it then changes to fully opaque again.Unlike the earlier example, this example does not use the animation() modifier for animation. Instead, you use the withAnimation block. The withAnimation block lets you explicitly tell SwiftUI what to animate.
The image below shows the button fully opaque when it’s loaded and then gradually changes its opacity to 0.2.
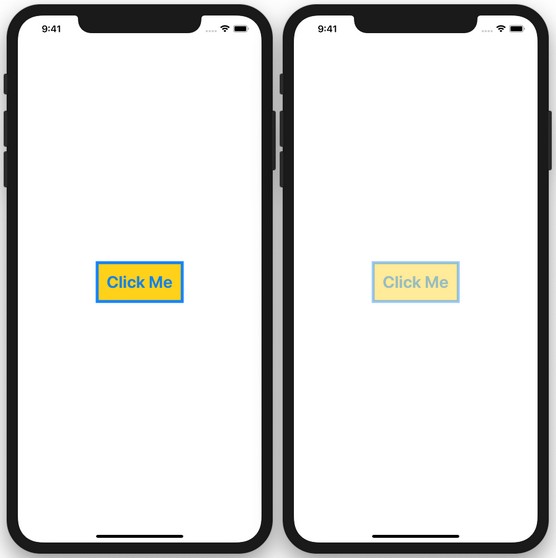 Dimming the Button view in SwiftUI.
The animation is perpetual, so to stop it, you need to do some work in SwiftUI. For this, you can use a Boolean state variable (let’s call it animate) and use it to determine if the animation should continue:
                withAnimation (self.animate ?
                    baseAnimation.repeatForever(
                        autoreverses: true) :
                    Animation.default) {
                    self.opacity = 0.2
                }
In the preceding Swift code snippet, if the animate state variable is true, you’ll perform the animation perpetually, or you can set the animation to default (which will only perform the animation once).The following code snippet stops the animation when the button is tapped and sets the opacity of the button back to 1:
struct ContentView: View {
    @State private var opacity:Double = 1.0
    @State private var animate = true    var body: some View {
        Button(action: {
            self.animate = false
            self.opacity = 1.0
        })
        {
        Text("Click Me")
            .fontWeight(.bold)
            .font(.title)
            .foregroundColor(.blue)
            .padding()
            .background(Color.yellow)
            .overlay(
                Rectangle()
                    .stroke(Color.blue, lineWidth: 5)
            )
            .opacity(opacity)
            .onAppear() {
               let baseAnimation =
                   Animation.linear(duration: 1)
                withAnimation (self.animate ?
                    baseAnimation.repeatForever(
                        autoreverses: true) :
                    Animation.default) {
                    self.opacity = 0.2
                }
            }
        }
    }
}
Remember to follow the Apple Human Interface Guidelines (HIG) when it comes to animating your UI. This also applies to custom animations.Want to learn more? Check out these SwiftUI resources.


