


To transfer digital camera photos to your computer, you need to install the camera’s driver on your computer. You can install a driver fairly easily on a Windows computer, and that driver lets you access your digital camera photos on your computer. To install the driver:
Choose Start→Control Panel→Printers and Other Hardware→Scanners and Cameras→Add an Imaging Device.
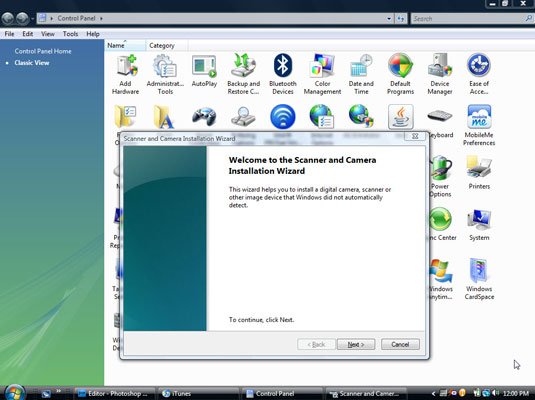
The Scanner and Camera Installation Wizard opens with the Welcome screen, as shown in this figure.
Connect your camera or card reader to your computer (placing your camera in Connect mode, if necessary).
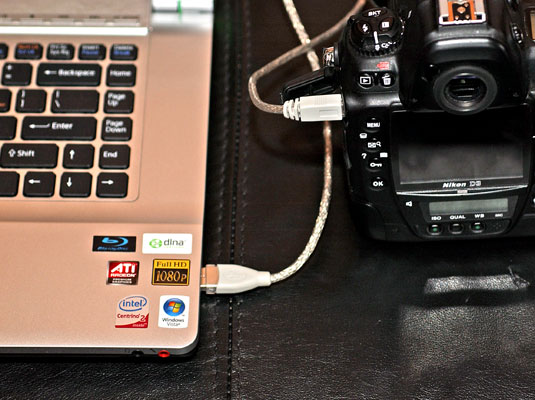
You can probably connect your camera by using a USB cable, as this figure shows.
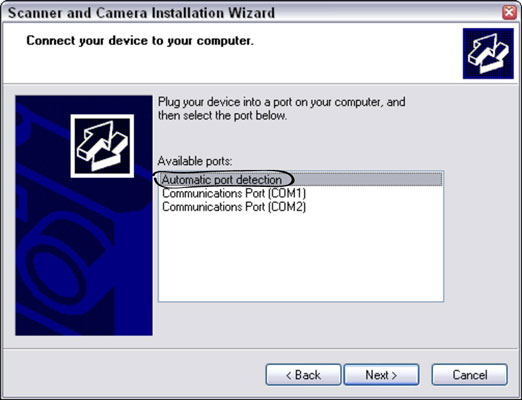
Select Automatic Port Detection in the wizard (see figure), then click Next.
The Camera Selection window opens.
Select your digital camera make and model in the Camera Manufacturer and Model lists; then click Next.
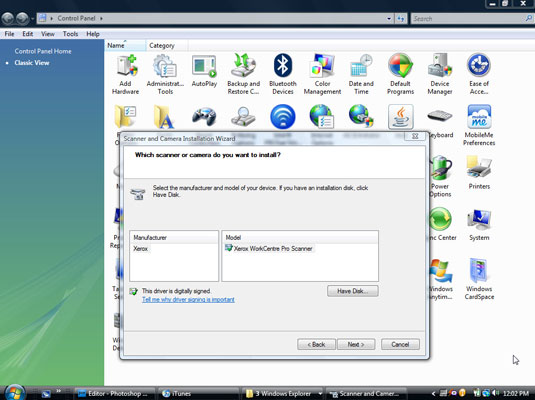
If your camera or card reader isn’t listed, install the driver from the disk that came with your device. Place the disk in the appropriate drive and click the Have Disk button. The wizard walks you through the process.
Turn your connected camera on. Click Next.
The Installation Wizard now asks you to name your device.
Type a name for your camera or device. Click Next.
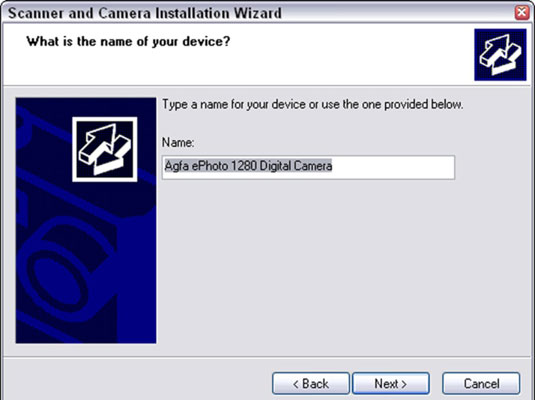
Choose a name that makes sense to you, or the camera’s make and model.
To complete the Windows installation process, click Finished.
And you’re done!

