


If you want to make your digital photo look as though it’s the work of an artist, your image-editing program may offer artistic effects or filters. These art effects (also called filters) appear in many image editors — here’s how to use them in Microsoft Photo Editor:
Open your photo in your image-editing program.

This figure shows an image in Photo Editor.
Click to open the Effects menu and select an effect.
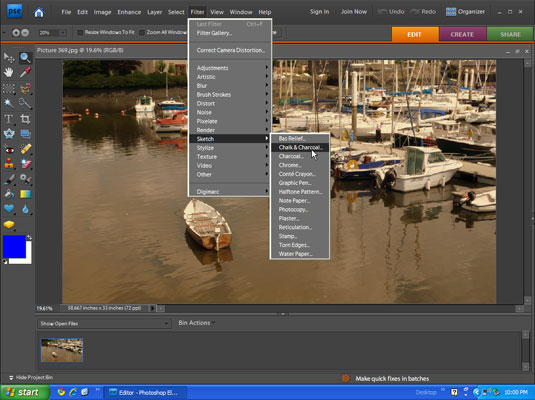
Your image-editing program may differ slightly, but Photo Editor’s menu offers Chalk and Charcoal, Emboss, Watercolor, Notepaper, Stained Glass, Texturizer, and Graphic Pen.
Adjust the Effect Controls sliders and click the Preview button.
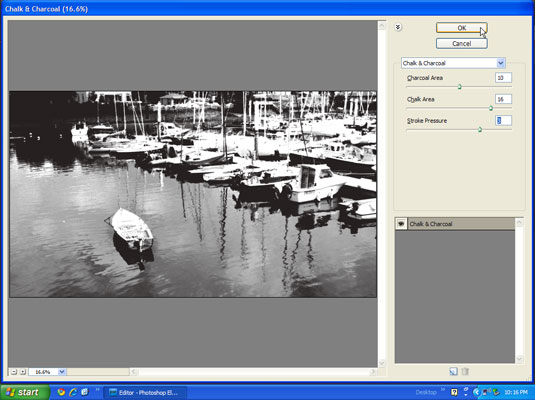
This figure shows the Chalk and Charcoal dialog box. Review the results in the Preview After window until you’re satisfied with the changes to your photo.
Click the Apply button to make the changes to your image and then choose File→Save.
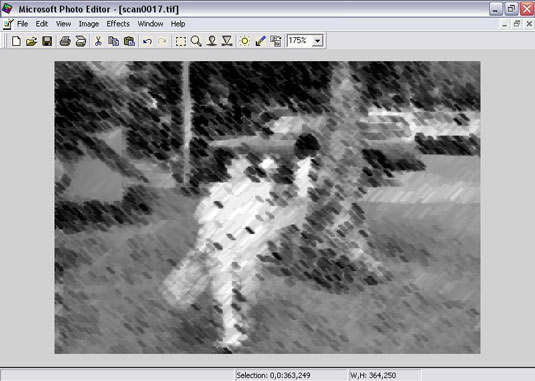
This figure has been transformed to a chalk-and-charcoal drawing.
