Native printing from iPad
As of iOS version 4.2, native printing capability is part of iPad's bag of tricks. This capability requires a wireless-enabled printer, and the only control you have over your printing is to set the number of copies to be printed.You can print photos, e-mail messages, and websites, and when Apple adds support for printing in Pages or it's added in other apps such as DocsToGo, you'll be able to print documents as well.
You'll find that the little button with an arrow on it — which is located in the Safari, Mail, and Photos apps — contains a Print command. When you tap that command, you see the Print dialog. Follow these steps to print:
-
In the Printer Options dialog (if you haven't used this feature with your printer before), tap Select Printer.
iPad searches for any available wireless printers; tap your printer to select it.

-
Tap Printer Options to return to the Printer Options dialog and use the + or – buttons in the Copies field to adjust the number of copies.
-
Tap Print and your print job is on its way.
Printing with third-party apps
There are several third-party apps to choose from: PrintCentral, Print n Share for Advanced Printing, PrintBureau, and PaperChase Printing, to name a few.PrintCentral for iPad has a file browser and an e-mail reader that allows you to access anything on your iPad, and it also allows you to print to a network printer across your Wi-Fi network. After purchasing and downloading PrintCentral to your iPad, in order to use the app you need to first download WePrint to your computer (there are both Mac and Windows versions available). Plug your connector cable into your iPad and computer's USB port. Open WePrint and you can see your server address.

Now open PrintCentral on iPad. Tap the Getting Started file listed there to test your printer. Tap the Print icon in the top-right corner, and the Print dialog appears.

Tap the Choose button and enter the server address you found in WePrint into the dialog that appears. PrintCentral connects and displays all possible printers. Tap the one you want to use and then tap the Print button in the Print dialog. The test document prints.

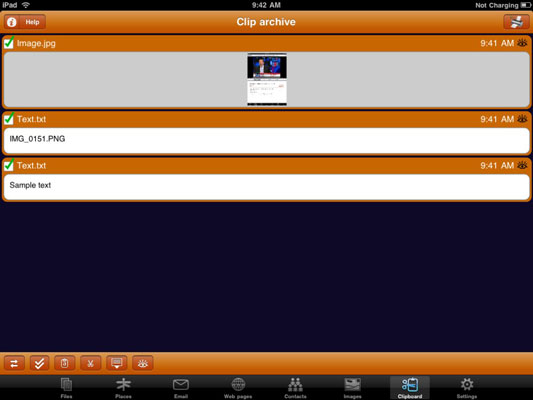
After you have it working, you can use the Sharing button from within apps to open a document in PrintCentral and print it. In other apps, you can make a copy of a file (which places it on your Clipboard), open the Clip Archive in PrintCentral, and choose the file you want to print.