


The door to Word 2016's graphical closet is found on the Insert tab. The command buttons nestled in the Illustrations group place various graphical goobers into your text. Here's how the process works for pictures in the text:
Click the mouse at the spot in your text where you desire the image to appear.
You don't need to be precise because you can always move the image later.
Click the Insert tab.
Use one of the command buttons to choose which type of image to add.
You can also paste a previously copied image, as described in the next section.
The figure illustrates how a freshly added image looks, highlighting some of its features.
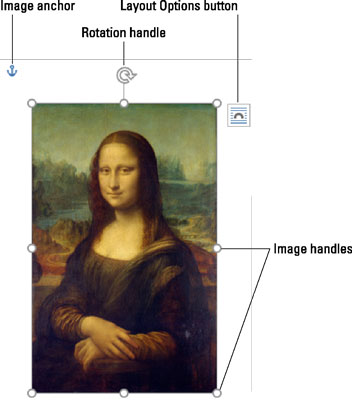
While the image is selected, a new tab appears on the Ribbon. For pictures, it's the Picture Tools Format tab; for other types of graphics, the Drawing Tools Format tab appears. Both tabs offer tools that help you perfect the recently inserted graphic.
Some images, specifically shapes, are drawn on the page. In that case, they appear in front of or behind your text.
To remove an image, click to select it and then tap the Delete key. If the graphical object, such as a shape, contains text, ensure that you've clicked the object's border before you tap the Delete key.
The more graphics you add in Word, the more sluggish it becomes. Write first. Add graphics last. Save frequently.


