


Office 2019 vs. Office 365
Office 2019 is what they call a “box product” (even if you download it), or a retail product. You buy it once, and then it’s yours for life (or as long as you want it). Through automatic downloads, you will receive security and maintenance updates for Office 2019 but not updates that contain new functionality. In contrast, Office 365 is a subscription-based product that is continually being updated by Microsoft automatically and in the background.Office 2019 was officially released in September 2018, but its feature set was frozen back in April 2018 when the Commercial Preview was released. As of April 2018, Office 2019 and Office 365 had identical features, but since then, Microsoft has continued to roll out new features to Office 365, whereas Office 2019 has stayed the same. That’s why there are minor differences between them.
Online Pictures (a.k.a. Dude, Where’s My Clipart?)
When Office 2016 was first released, it contained the same Clip Art functionality as earlier versions. Microsoft maintained a server containing thousands (maybe millions?) of clip art images, and you could search it from within many of the Office applications. Shortly after the initial release of Office 2016, however, Microsoft rolled out an update that took that feature away, replacing it instead with the Online Pictures feature. Online Pictures uses the Bing search engine (another fine Microsoft product) to search the entire web for pictures, so you’re not limited to one proprietary collection of images. The interface for Online Pictures has changed a few times since its initial roll-out. To get to it, select Insert → Online Pictures. Type your keyword(s) in the text box at the top and press Enter to search, or click one of the category tiles to browse. The OneDrive button in the bottom-left corner provides access to your own personal online pictures on your OneDrive. Online Pictures enables you to search the Internet for images without leaving the Office application.
Say It With Icons
The Icons Office 2019 feature provides access to a library of black-and-white icons you can insert as small graphic images. The range of choices is fairly impressive. To access the Icons library, select Insert → Icons. These icons are scalable vector graphics (SVG), so they look good at any size and resolution.3D Models
The first time you insert one of Office’s 3D models, you’re going to waste a good 30 minutes playing with it. And then you’ll be less upset that the clipart is gone because 3D models are way more interesting. 3D models look like three-dimensional clip art, but they have extra features for customizing them. For example, the smiley face ones have a button in the center that you can drag to change the direction that the face is pointing. When you’re working with a 3D model, a 3D Model Tools Format tab appears on the Ribbon, with preset views in a gallery and a Pan & Zoom feature.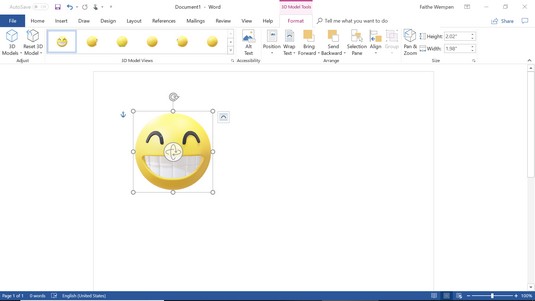 Insert a 3D model and then drag the control icon in the center to adjust it.
Improved Ink Editor
If you run Office on a device with a touch-sensitive screen, you can take advantage of a variety of new inking features, such as tilt effects, pressure sensitivity, and the ability to keep your same pen and pencil settings in all the Office apps.Office 365 users also have access to the Ink Editor, a.k.a Ink Gestures, which use natural gestures like crossing something out to delete it, or circling it to select it. From the Draw tab (which is present on the Ribbon if you have a touch-sensitive screen), select Ink Editor and then select Enable Ink Editor. For more information about the Office 2019 feature, choose Ink Editor → Ink Gesture Help to open a task pane that explains the various gestures.
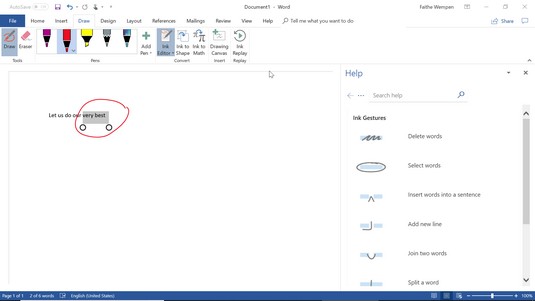 The Help pane provides information about the available ink gestures.
If you don’t have a touch-sensitive screen, you can still use the drawing tools with the mouse. It’s not easy, but it’s possible. You won’t have the Draw tab by default on your Ribbon, though. To enable it, choose File → Options → Customize Ribbon, and then in the right pane, place a check mark next to Draw.
File Versions
Have you ever made changes to a file and saved it, only to realize you needed the old version back again? Don't you hate it when that happens? But in Office 2019 applications, you can sidestep that headache if you have saved your files to a SharePoint or OneDrive location.To access previous versions:
- Select File → Info.
- Click the View and restore previous versions hyperlink.
 Select View and restore previous versions.
A Version History task pane opens, listing all the saved versions of the file.
 Use the Version History task pane to browse and recover earlier versions.
 - Click the desired version to go back to it.
There are a couple of other ways to access the Version History task pane:
- In the title bar of the applications, click the down arrow to the right of the file name, opening a menu. From here, you can change the name of the file, see its location, and most importantly for the discussion at hand, you can select Version History.
- If you’re using Word 2019 (not 365), there is a Version History icon in the upper-right corner of the screen, between the Share and Comment buttons (in Word only). You can click it to open the Version History pane.
Other Minor but Cool Updates
It’s the little things, right? Here’s a collection of little improvements that make Office 2019 better.New feedback sounds
If you use the Provide feedback with Sounds Office 2019 feature (a.k.a. Office Sounds), you now have a choice of two sound schemes: Modern and Classic. To change the sounds (or turn them on/off), select File → Options, select Ease of Access, and make your selection in the Feedback Options section. Choose a sound theme from the Options dialog box.
Black interface option
The interface’s theme is the overall color scheme for the application window. Colorful is the default, White is my personal favorite, and now there’s Black. Select File → Options, select General, and select Black from the Office Theme drop-down list. This setting applies immediately across all Office applications.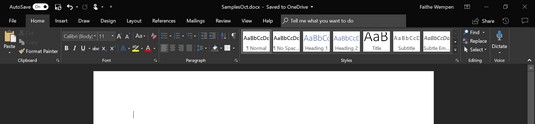 A black interface option is now available.


