PDF files are designed to be viewed and printed in a program called Adobe Reader. Nearly every computer has Adobe Reader, which is why it is sometimes convenient to save your Office 2013 files as PDFs.
If someone to whom you sent a PDF file doesn’t have the program, they can download it for free at.
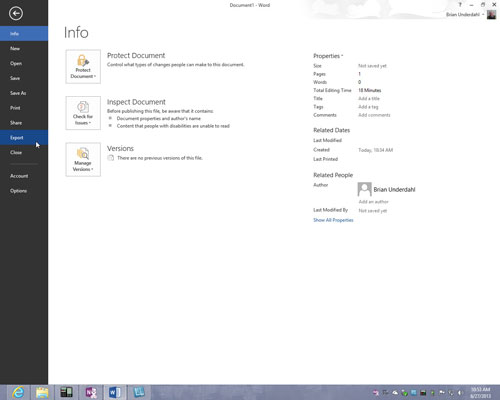
Go to the File tab and choose Export.

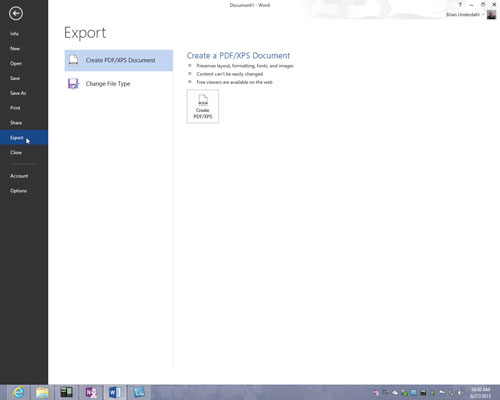
The Export window opens.
Choose Create PDF/XPS Document.

The Export window also gives you the option to save your document in other formats if you need to share your document with someone who can’t open an Office 2013 file.
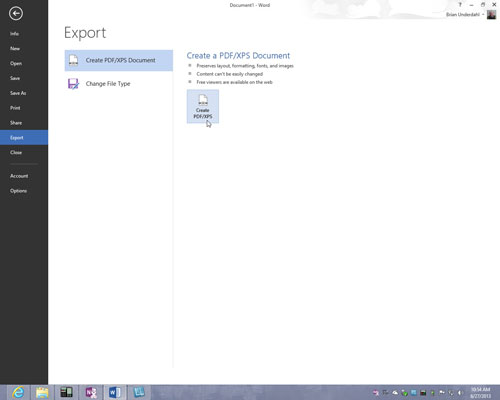
Click the Create a PDF/XPS button.

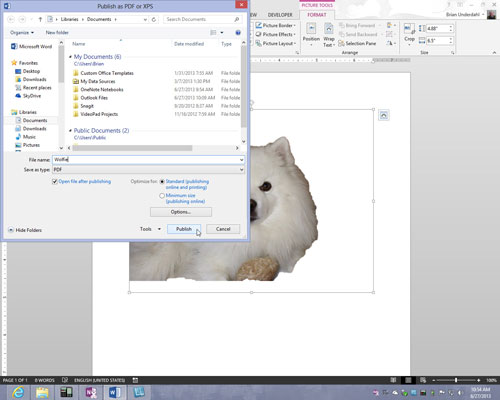
The Publish as PDF or XPS dialog box appears. If your goal is to create an XPS file, not a PDF file, open the Save As Type drop-down list and choose XPS Document (*.xps). Microsoft created the XPS format to compete with the PDF format.
As are PDF files, XPS files are meant to present data from different programs, in this case in Internet Explorer. However, the XPS format is not nearly as well known or frequently used as the PDF format.
Select a folder for storing your PDF (or XPS) file, give it a name, and click the Publish button.

The Adobe Reader program opens and you see your file. (If you created an XPS file, Internet Explorer opens.)


