


One way you can share a workbook is by turning on change tracking. When you do this, Excel tracks all changes you make to the contents of the cells in the shared workbook by highlighting their cells and adding comments that summarize the type of change you make. When you turn on change tracking, Excel automatically turns on file sharing along with the workbook’s Change History log.
To turn on change tracking in a workbook, you take these steps:
Open the workbook for which you want to track changes and that you wish to share and then make any last-minute edits to the file, especially those that are not supported in a shared workbook.
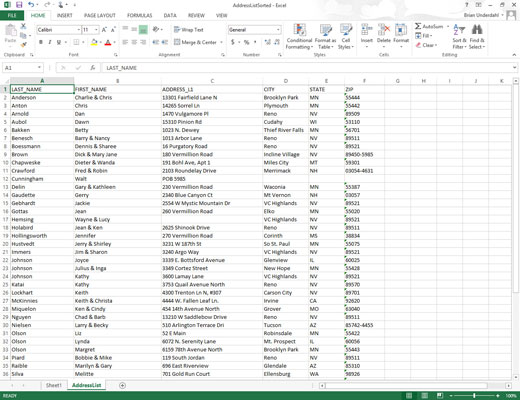
When making these last-minute changes, keep in mind that, when you share a workbook, some of Excel’s editing features become unavailable to you and any others working in the file.
Before turning on file sharing, you may want to save the workbook in a special folder on a network drive to which everyone who is to edit the file has access.
Choose File→Save As or press Alt+FA and then select your SkyDrive or the network drive on the Save As screen.
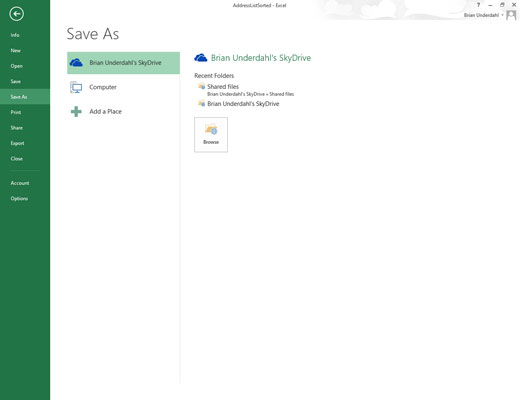
In the Save As dialog box, you select the folder in which you want to the make the change tracking version of this file available before you click the Save button. In this case, Brian Underdahl’s SkyDrive is selected.
Choose the Highlight Changes option from the Track Changes command button’s drop-down menu on the Review tab or press Alt+RGH.
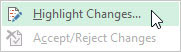
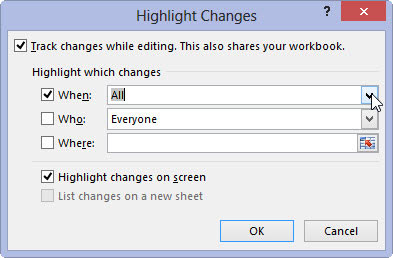
Doing this opens the Highlight Changes dialog box, where you turn on change tracking and indicate which changes to highlight.
Select the Track Changes While Editing check box.

Doing this turns on change tracking and automatically turns on file sharing for the workbook.
By default, Excel selects the When combo box and chooses the All option from its drop-down menu to have all changes made to the workbook tracked. To track the changes only from the time you last saved the workbook, choose the Since I Last Saved item from the When drop-down menu.
To track all changes that you’ve not yet reviewed (and decided whether to accept), you choose the Not Yet Reviewed item from the When drop-down menu. (Most often, you want this option so that you can use the Accept/Reject Changes option on the Track Changes command button’s drop-down menu to review each person’s changes and decide whether to keep them.)
To track changes from a particular date, choose Since Date from the When drop-down menu: Excel then inserts the current date into the When combo box, which you can then edit, if necessary.
(Optional) If you don’t want to track all changes in the workbook, click the When drop-down button and then choose the menu item from its drop-down menu (Since I Last Saved, Not Yet Reviewed, or Since Date).
By default, Excel tracks the changes made by anybody who opens and edits the workbook (including you). If you want to exempt yourself from change tracking or restrict it to a particular user, select the Who check box and then choose Everyone But Me or the user’s name from the Who drop-down menu.
(Optional) If you want to restrict change tracking, click the name of the person to whom you want to restrict change tracking in the Who drop-down menu.
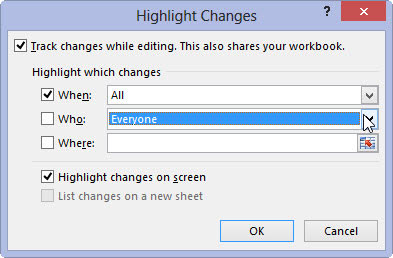
Note that selecting any option from the Who drop-down menu automatically selects the Who check box by putting a check mark in it.
By default, changes made to any and all cells in every sheet in the workbook are tracked. To restrict the change tracking to a particular range or nonadjacent cell selection, select the Where check box and then select the cells.
(Optional) If you want to restrict change tracking to a particular cell range or cell selection in the workbook, click the Where combo box and then select the cell range or nonadjacent cell selection in the workbook.
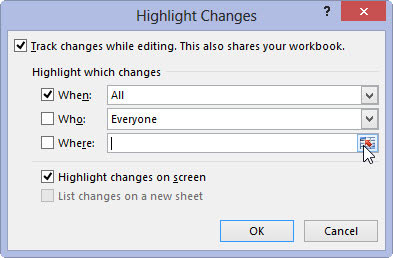
Clicking the Where text box and selecting a cell range in the workbook automatically selects the Where check box by putting a check mark in it.
By default, Excel highlights all editing changes in the cells of the worksheet on the screen by selecting the Highlight Changes on Screen check box. If you don’t want the changes marked in the cells, you need to deselect this check box.
(Optional) If you don’t want changes displayed in the cells onscreen, click the Highlight Changes on Screen check box to clear its check mark.
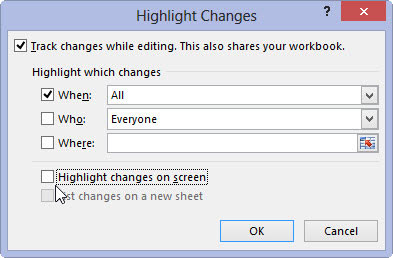
Note that after you finish saving the workbook as a shared file, you can return to the Highlight Changes dialog box and then select its List Changes on a New Sheet check box to have all your changes listed on a new worksheet added to the workbook.
Note too, that if you select this check box when the Highlight Changes on Screen check box is selected, Excel both marks the changes in their cells and lists them on a new sheet.
If you deselect the Highlight Changes on Screen check box while the List Changes on a New Sheet check box is selected, Excel just lists the changes on a new worksheet without marking them in the cells of the worksheet.
Click the OK button to close the Highlight Changes dialog box.
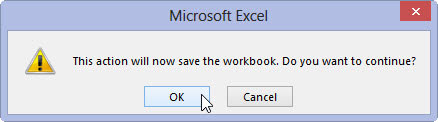
As soon as Excel closes the Highlight Changes dialog box, an alert dialog box appears, telling you that Excel will now save the workbook and asking you if you want to continue.
Click the OK button in the Microsoft Excel alert dialog box to save the workbook with the change tracking and file sharing settings.


