


Using Excel 2013 to create a new data list in a worksheet is much like creating a worksheet table except that it has only column headings and no row headings. To set up a new data list, follow these steps:
Click the blank cell where you want to start the new data list and then enter the column headings (technically known as field names in database parlance).
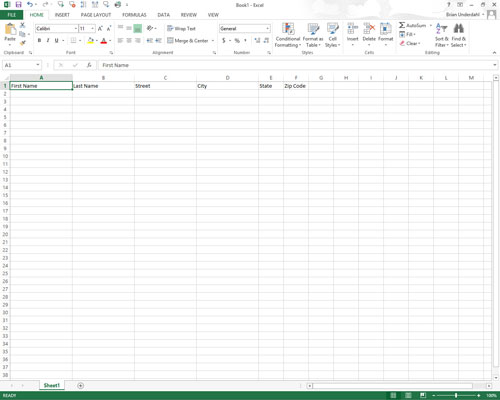
For this exercise, use First Name, Last Name, Street, City, State, and Zip Code as the column headings.
After creating the fields of the data list by entering their headings, you’re ready to enter the first row of data.
Make the first entries in the appropriate columns of the row immediately following the one containing the field names.
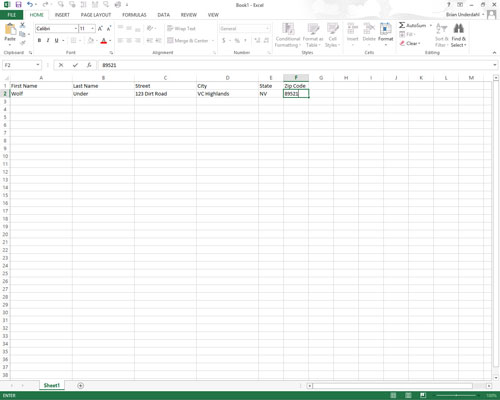
These entries in the first row beneath the one with the field names constitute the first record of the data list.
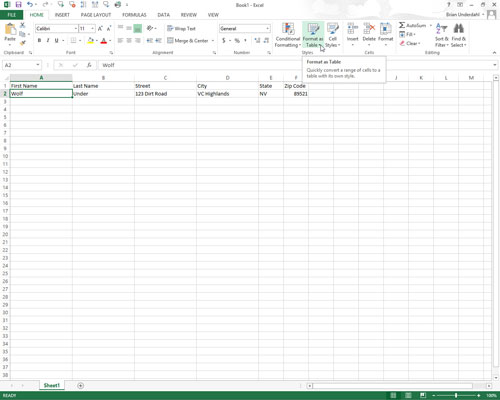
Click the Format as Table button in the Styles group of the Ribbon’s Home tab and then click a thumbnail of one of the table styles in the drop-down gallery.
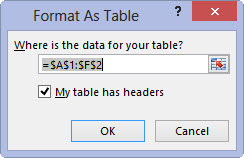
Excel puts a marquee around all the cells in the new data list, including the top row of field names. As soon as you click a table style in the drop-down gallery, the Format As Table dialog box appears listing the address of the cell range enclosed in the marquee in the Where Is the Data for Your Table text box.
Click the My Table Has Headers check box to select it, if necessary.
This is an optional step that only applies if you need headers in your table.
Click the OK button to close the Format As Table dialog box.
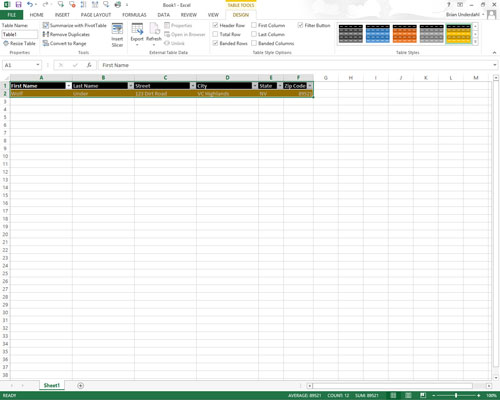
Excel formats your new data list in the selected table format and adds filters (drop-down buttons) to each of the field names in the top row.


