


Applying a filter
Below the viewer is a row of filters. The thumbnail image below each filter shows you the filter's effect on your video.Swipe in the row of thumbnails to view all 23 filters. (Normal is the default, so it isn't considered a filter.) Tap a filter's thumbnail, and the video with the applied filter plays in the viewer.
You can change the intensity of any filter by tapping the filter's thumbnail, and then moving the slider to the left and right. (The default intensity is 100.) As you move the slider, the video reflects the change. When you've finished selecting an intensity, tap Done.
The video continues to play when you apply a new filter or change the intensity of a filter. If you want to return the video to its original state, tap the Normal thumbnail.
Changing the cover frame
Instagram uses the first frame from your video to produce a cover frame, which is the frame that appears at the start of your video. You can change the cover frame as follows:- In the Filter screen, tap Cover.The default cover frame appears in the viewer and also below the viewer in a white focus box. The other frames appear next to the focus box and are dimmed.
- Tap and hold down on the frame in the focus box, and then drag the frame within the row.As you drag, the focus box moves to another frame in your video and you see this new cover frame in the viewer.
- When you find a cover frame you like, release your finger.
- Tap Next.
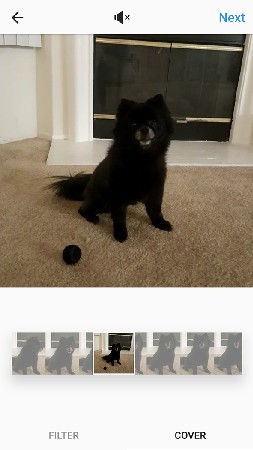 Frames that aren’t selected appear dimmed.
The cover frame will appear in your Instagram feed, so be sure that the frame you select isn’t blurry. You want to make a good impression on your followers as well as your potential customers.
Adding details
In the screen that displays your vide0, tap Next. The New Post screen appears.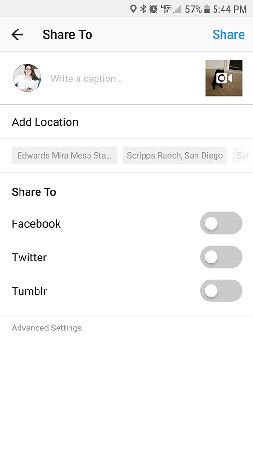 Your video frame appears as a thumbnail in the upper-right corner.
In this screen, you can add a caption, include a location where the video was recorded, share the video on other social media networks, and turn commenting on and off.

