Pictures were made to be looked at, so knowing how to view the albums and individual photos you manage to get into your iPad is a way to tap into the key strength of the Photos app.
The Photos app organizes your pictures into albums. The Saved Photos album contains images you have saved from the Web or received as Mail attachments. The Photo Library album stores images you import from your computer. There may also be albums for images you synced from devices such as your iPhone or digital camera.
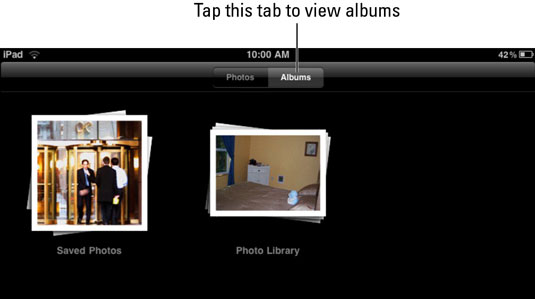
Viewing an album
To view albums, tap the Photos app icon in the Dock on the Home screen. If the Photos tab is selected when the Photos app opens, tap the Albums tab. Now you can tap an album and the photos in it are displayed.
Screenshots you take of your iPad screen are also saved to the Saved Pictures album. To take a screenshot, display what you want to shoot, press and hold the Home button, tap the Sleep/Wake button, and then release. You'll find your screenshot in the Photos app.
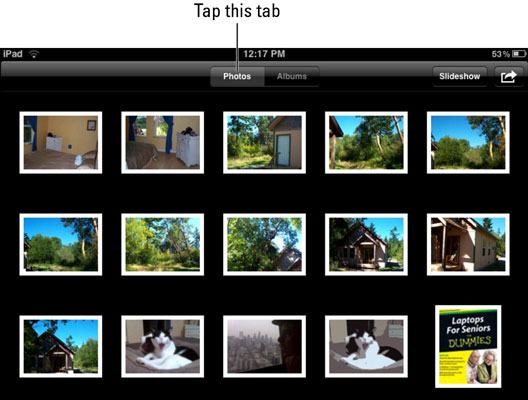
Viewing individual photos
After you figure out what album your images are in, you have several fun ways to interact with individual photos. The iPad touchscreen is the key to this very tactile experience.
Tap the Photos app icon in the Dock on the Home screen and then tap the Photos tab.
Now try out these techniques:
To view a photo, pinch your fingers together, place them on the photo, and then spread your fingers apart. The picture expands.

Flick your finger to the left or right to scroll through the individual photos in that album.
To reduce the size of the individual photos and return to the multi-picture view, place two fingers on the photo and then pinch them together.
Place two fingers on a photo and spin them to the left or right. This maneuver, known as grab and spin, twirls the photo on the screen (and it's lots of fun to do).
Deleting photos
You might find it's time to get rid of some of those old photos of the family reunion or the last project you worked on. If a photo wasn't transferred from your computer but instead was downloaded or captured as a screenshot on the iPad, you can delete it by using this procedure:
Tap the Photos app icon in the Dock on the Home screen.
Tap the Albums tab and then tap the Saved Photos album to open it.
Tap an individual photo to open it.
Tap the Trash Can button and then tap the Delete Photo button that appears.

If you need to delete multiple photos, with the album open, just tap the Share button, select up to five images, tap Delete at the top left of the screen, and tap Delete Selected Photos.