


Clip art is the name given to the ready-made illustrations offered by Microsoft for use in its various Microsoft Office programs, including Excel 2013. Clip art drawings are now so numerous that the images cover almost every classification of image that you can think of.
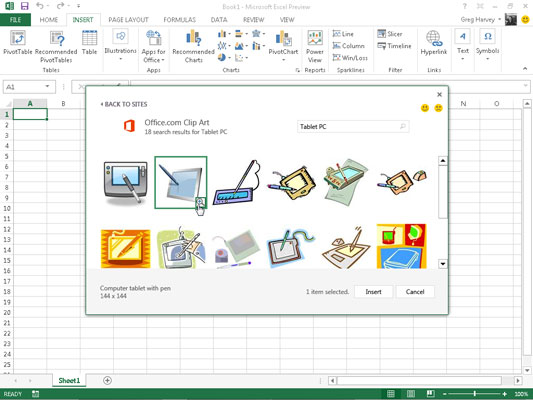
To locate the clip(s) you want to insert into the current worksheet in the Insert Pictures dialog box, in the Office.com Clip Art text box, type in a keyword describing the type of image you need and then press Enter or click the Search button (with the magnifying glass icon).
Excel 2013 then displays a scrollable list of thumbnails for all the clip art images that match your keyword in the Insert Pictures dialog box. Click a thumbnail in the list to display a short description plus the size (in pixels) of the image in the lower-left corner of the Insert Pictures dialog box.
To get a better view of a particular image whose thumbnail you’ve highlighted or selected in the list, click the View Larger button that appears in the thumbnail’s lower-right corner (the magnifying glass with a plus sign in it). Excel then displays a slightly larger version of the thumbnail in the center of the dialog box while at the same time blurring out all the other thumbnails in the background.
To insert a particular clip art image into the current worksheet, double-click its thumbnail if it’s not already selected in the list. If the thumbnail is selected, you can insert it by clicking the Insert button or by pressing Enter.


