


MetaMask is one of the most well-known and widely supported noncustodial crypto wallets connecting you to the Ethereum blockchain. Other popular contenders include WalletConnect and the Coinbase Wallet (not to be confused with the custodial Coinbase.com wallet).
Unmasking MetaMask
MetaMask is an amazingly simple, yet powerful, application that allows you to manage your Ethereum accounts and to interact with the Ethereum network. With this wallet app, you can create new accounts, import existing accounts, and submit transactions. In addition to handling ether (ETH), the token native to Ethereum, this wallet application is also compatible with ERC-20 fungible tokens and ERC-721 non-fungible tokens (NFTs).MetaMask operates as a browser extension, which makes it easy for you to connect to web-based Ethereum dApps (decentralized applications), the vast majority of which have integrated MetaMask functionality in their websites.
More ambitious readers may be glad to discover that Remix — a web-based integrated development environment (IDE) — is integrated with MetaMask to allow you to seamlessly launch smart contracts on Ethereum without having to download additional software or run a full node on your computer.
Exercise caution when interacting with dApps, just as you would when engaging with any application coming from an unknown or untrusted source.
Installing MetaMask
MetaMask currently supports the Chrome, Firefox, Brave, and Edge browsers. I’ve chosen to proceed in Chrome because it’s the most commonly used desktop Internet browser in the U.S.If you’re feeling a bit adventurous and want a full DeFi immersion, I recommend getting comfortable with the Brave browser.
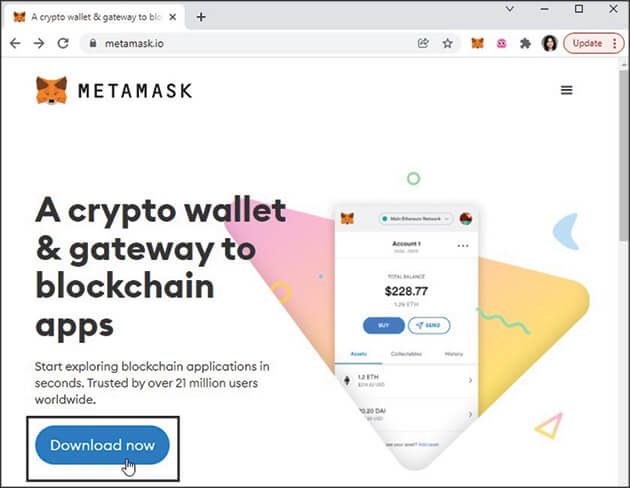
Keep in mind that your visual and textual prompts may differ slightly from what’s shown in the following steps, depending on your chosen browser. You can use these steps to download and install the MetaMask browser extension:- Go to www.metamask.io and click the Download Now button, as shown in Figure 1.
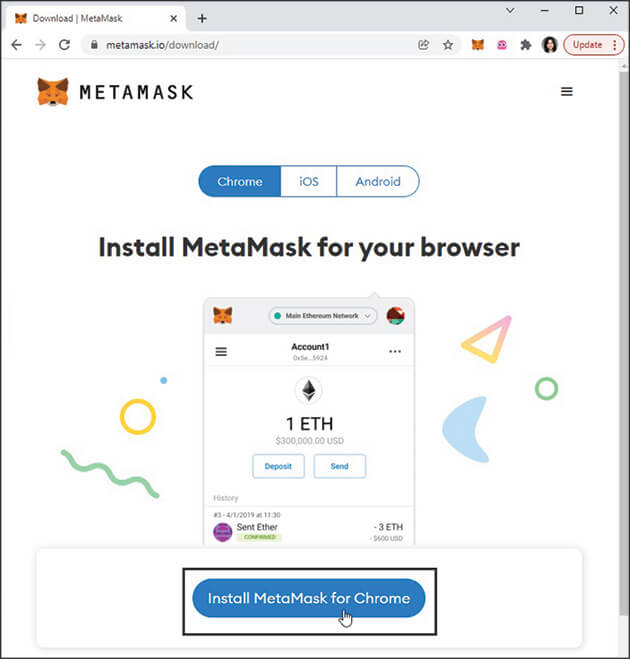
- Click the Install MetaMask for Chrome button, as shown in Figure 2.
 ©MetaMask
Figure 1: MetaMask main page
 ©MetaMask
Figure 2: Installing MetaMask on the Chrome browser
 ©MetaMask
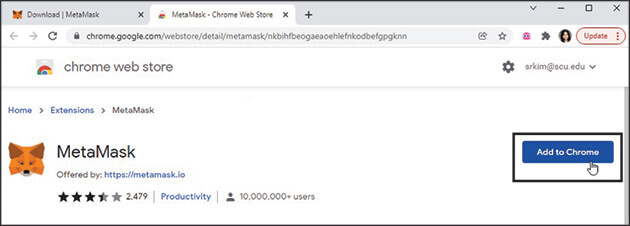
Figure 3: MetaMask page within the Chrome web store
Of course, if you’re using a different browser, the prompts will look slightly different, as shown in Figure 4.
 ©MetaMask
Figure 4: Installing MetaMask on the Brave browser
- Click the Add to Chrome button.A pop-up window appears, as shown in Figure 5.
- Click the Add Extension button.
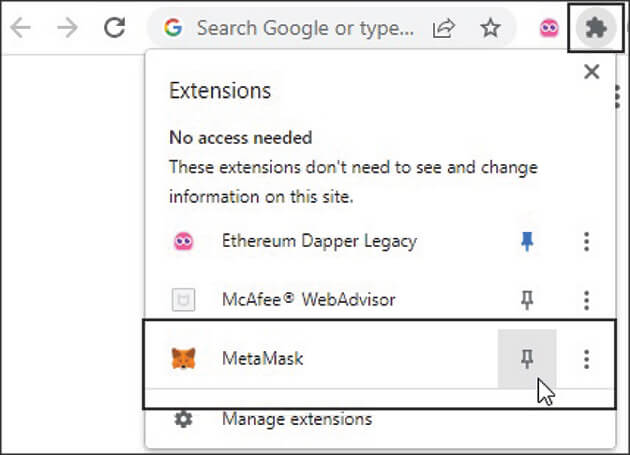
You should now see a small fox icon in the upper-right corner of your browser window (to the right of the address bar), as shown in Figure 6.
 ©MetaMask
Figure 5: Pop-up window to add MetaMask browser extension
Figure 6: The MetaMask fox icon in the browser toolbar
If the fox icon doesn’t automatically appear in your browser’s toolbar, follow these additional steps:
- Click the puzzle-piece-shaped icon in the upper-right corner of your browser window (to the right of the address bar).
A drop-down menu appears, as shown in Figure 7.
- Click the pin icon to the right of the MetaMask fox icon.
Yay, you’re now ready to set up your MetaMask wallet!
 ©MetaMask
Figure 7: The browser extensions drop-down menu
Setting up MetaMask
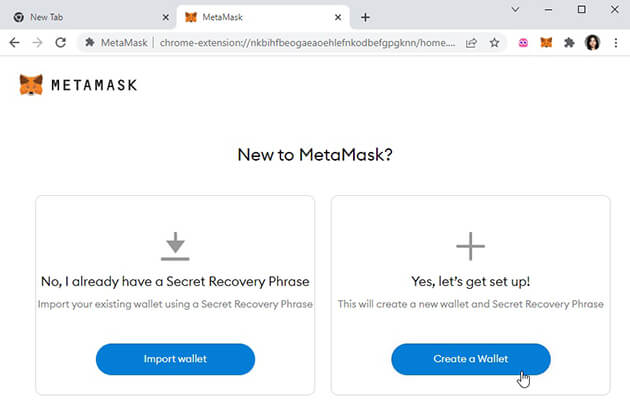
After you’ve successfully installed the MetaMask browser extension, you can follow these steps to set up your wallet:- Click the MetaMask fox icon in your browser’s toolbar. (In my case, I am continuing to use the Chrome browser.)A new browser window appears, with a Get Started button displayed at the bottom of the page.
- Click the Get Started button.
 ©MetaMask
Figure 8: Creating a new MetaMask wallet
- Click the Create a Wallet button.
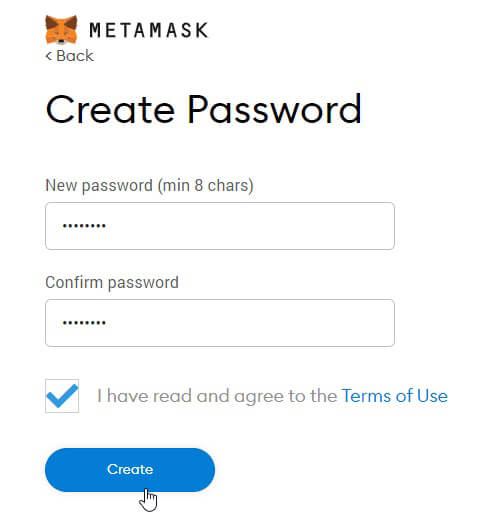
The next page opens, prompting you to create a password, as shown in Figure 9.
- Create and confirm your new password.
- Click the check box to confirm that you’ve read and agree to the terms of usage, and then click the Create button.
 ©MetaMask
Figure 9: Setting your MetaMask wallet password
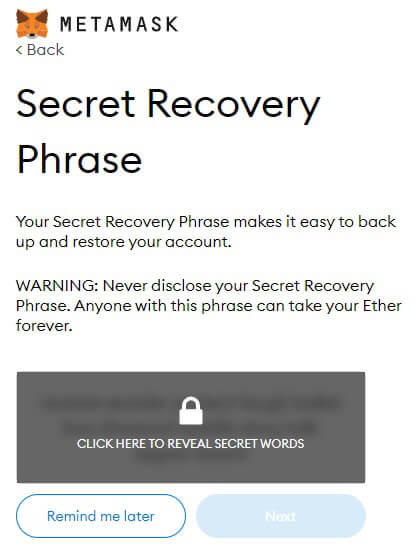
A page appears that features instructions and a brief video explaining the importance of your Secret Recovery Phrase. Watch this video and read the instructions carefully.
When you’re ready, click the Next button, which takes you to your Secret Recovery Phrase.
- Click the lock icon to reveal your private 12-word phrase, as shown in Figure 10.
- Write down this phrase and store it for safe keeping.
Do not skip this critical step! You’ll need your Secret Recovery Phrase if you ever need to reinstall the MetaMask browser extension or if you want to access your MetaMask wallet on a different browser or different computer.
 ©MetaMask
Figure 10: Obtaining your MetaMask Secret Recovery Phrase
In fact, even the MetaMask Support team cannot recover your MetaMask account for you. Specifically, MetaMask’s “Basic Safety and Security Tips” state that:
“MetaMask is not a cloud-based solution. If your device breaks, is lost, or has data corruption, there is no way for the MetaMask Support Team to recover this for you. This Secret Recovery Phrase is the only way to recover your MetaMask accounts.”
- After you’ve secured your Secret Recovery Phrase, click the Next button.
Do not share this unordered word matrix with anyone, as I’ve (foolishly!) done here for demonstrative purposes.
Using this word matrix, a hacker can easily create a program to regenerate my Secret Recovery Phrase. In fact, this hypothetical hacker could guess my secret phrase within 12! = 12 x 11 x 10 x …. X 2 x 1 = 479,001,600 attempts, which represents the total number of possible permutations of the words presented in Figure 11. Although 479,001,600 distinct guesses would be quite onerous to attempt manually, a computerized algorithm can glide through this guessing game.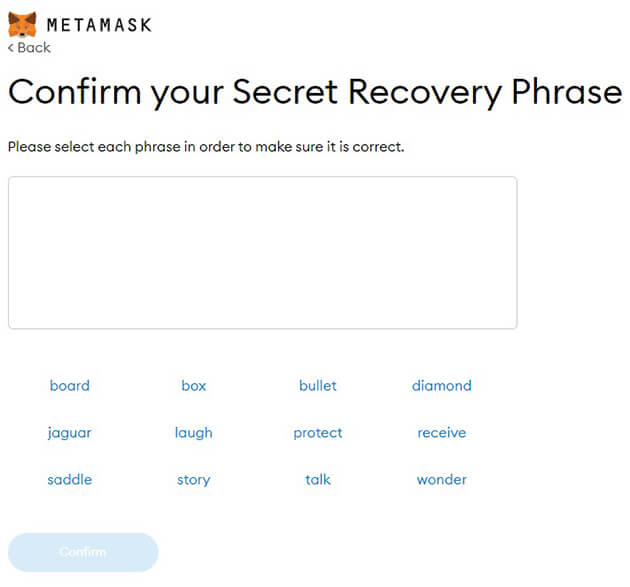 ©MetaMask
Figure 11: Confirming your Secret Recovery Phrase
- After you've clicked each word in the correct order to produce the correct word sequence, click the Confirm button.
 ©MetaMask
Figure 12: A newly initiated MetaMask wallet
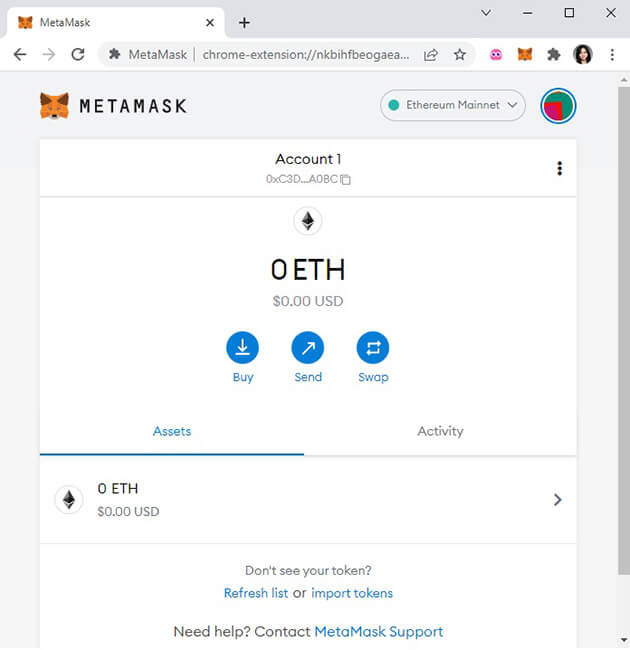
Going forward, you can simply access your MetaMask wallet by clicking the MetaMask fox icon in your browser’s toolbar, which reveals a drop-down window, as shown in Figure 13. (Revisit Steps 5 and 6 from the previous “Installing MetaMask” section if you need to re-pin the MetaMask fox icon to your browser’s toolbar.)
 ©MetaMask
Figure 13: Accessing the MetaMask wallet drop-down window from your browser's toolbar


