


A border, also known as a stroke, can be applied to any of your Adobe XD document’s shapes and paths. When you create a border, you select both the width and color.
 Use the eyedropper to sample colors from your project.
- If you still have your button selected, make sure the checkbox is on to the left of the Border in the Properties panel; then click the box to the right of the checkbox to open the color picker and select a color that you would like to use for your border.
- To select a width, type a value into the Width textbox.
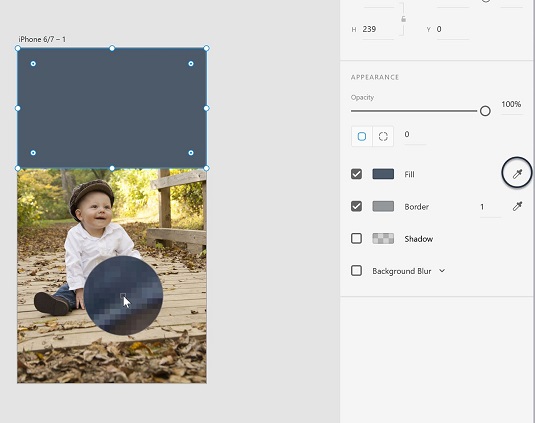
Sampling a color using the eyedropper
Both the Fill and the Border have an eyedropper icon positioned off to the right. You can select the Eyedropper tool in the Properties panel and then click on any color located within your current project. This can be helpful when you have imported images that you want to sample colors from or if you are trying to match controls that were created in a different application. Use the eyedropper to sample colors from your project.Creating a gradient
Adobe XD includes advanced tools that make it simple to create gradients. To create and use a gradient in your project, follow these steps:- Select a shape. Currently, a gradient can only be applied to a fill.
- Click the box to the left of Fill in the Properties panel to open the color picker.
- Click Solid Fill at the top of the picker and select Gradient from the menu that appears. A gradient ramp appears with default colors.
 Select Gradient from the color picker.
 - You can either click the gradient ramp at the top of the color picker to add colors, or click directly on the gradient annotator that appears inside the fill of your object.
 Click to add color stops to your gradient.
 - After you click to add a color stop, you can then use the picker to select a color. Continue adding color stops with various colors if you like. Click and drag the color stops to reposition them.
- Remove any unwanted color stops by selecting one and then pressing the Delete or Backspace key.
- Choose a level of transparency by selecting a color stop, and then dragging up or down in the transparency slider on the right side of the color picker.
