


Windows 10 makes enjoying digital photos easy. You can take photos with the Camera app with the built-in camera found in many laptops and tablets.
Select the Camera app on the Start screen.
If you don't have a webcam, the app screen displays Please connect a camera. If you don't have a built-in webcam, or the resolution of the one you have is too low, you can easily add a webcam. Simply plug the camera into your computer — it's that easy.
You can choose from many good webcam models. Generally, get the highest video resolution you can afford, because you'll probably use the camera for video chats. Consider the size of the camera, its attachment to your computer, and whether it has a microphone (you definitely need a microphone).
The first time you use the Camera app, the screen displays Let Windows camera access your location?
Select Yes to continue. (If you don't want to continue, don't choose No unless you never expect to use this app. Instead, simply switch back to the Windows desktop.)
The Camera app opens, and there's a good chance you recognize the face staring back at you. Very likely the face isn't wearing dark glasses like the debonair guy shown.
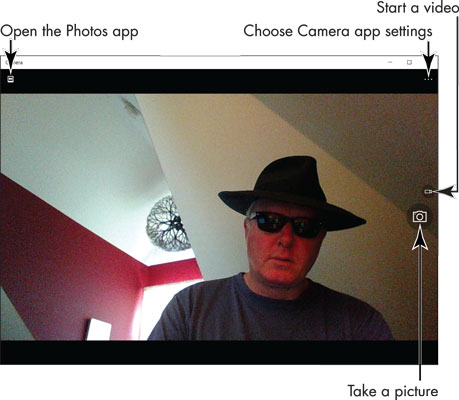
To take a photo, smile and then click or tap the Camera button.
You may hear a shutter click. Your photo is placed automatically in a folder called Camera Roll in the Pictures folder.
If you see a Change Camera option, select that option.
Many tablets and laptops have two cameras, one that faces you and one that points in the opposite direction. Switch to the camera away from you when you want to use your computer for something other than a self-portrait. Take another picture — they're free. Select Change Camera again to switch back to see yourself.
Select the Settings button located in the upper-right corner of the Camera window.
A panel appears with two options: Self Timer and Settings. Select Self Timer. The Self Timer panel opens. Choose a Delay option — 2, 5, or 10 seconds — to pause before photos are taken, and then select the check mark at the bottom of the window. You return to the Camera screen.
Select the Camera button to take another photo. A countdown timer appears, giving you a few seconds to compose yourself. To turn off this feature, return to the Self Timer panel and select the X button (not the check mark).
Select the Video button.
Nothing happens until you click or tap the button a second time, at which point you're in moving pictures. A counter indicates the length of the video. Short is sweet in video. You can speak, too. Click or tap the Video button to stop the video.
As with photos you take with the Camera app, videos are saved initially in the Camera Roll subfolder of the Pictures folder. Select the Video button again to turn off the video function and return to taking still photos (with the next click or tap).
