


Before you use iTunes in Windows 10 for the first time, you run through the iTunes Setup Assistant program. Here's how to minimize your ongoing headaches:
If you quit immediately after iTunes is installed or if iTunes was preinstalled on your PC, tap the iTunes tile on the Start menu's All Apps list or double-click the iTunes icon on the desktop to run iTunes for the first time.
If you didn’t quit iTunes, you automatically come to this step after iTunes has been successfully installed.
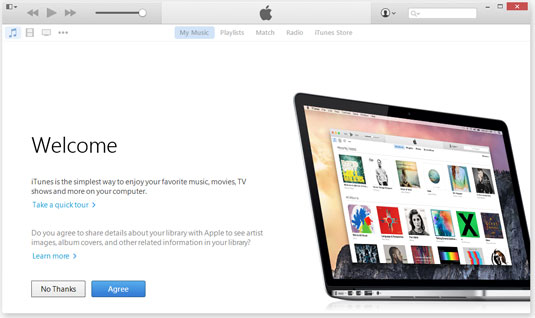
Tap or click through another license agreement, which is considerably longer than the U.S. Constitution. Choose I Agree, Yer Honor (or words to that effect).
While you’re waiting, head over to YouTube and look up the South Park episode where Butters reads the iTunes agreement, or development of the HUMANCENTiPAD. You don’t want to mess with these people.
The iTunes Tutorials home page appears.
When the tutorials are done, close the Tutorials home page and click Agree (again). If you have music on your computer that you want iTunes to see, click or tap Scan for Media.
Depending on how much music you have stored in your Music library, the scan can take minutes or hours.
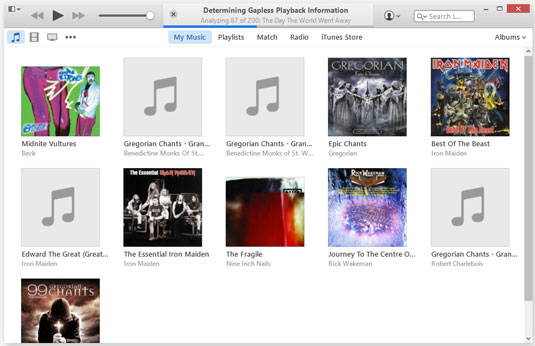
The initial iTunes Music page appears, as shown here.
If you’re curious about what iTunes actually does with your music, don’t be overly concerned. Unlike earlier versions, the latest version of iTunes doesn’t move any files. Instead, it builds a database that points to your music and stores it in the new MusiciTunes folder. Still worried? Crank up File Explorer and go look. And breathe a sigh of relief.
You may or may not want to use iTunes to import (rip) music CDs—ripping is much less common now than it once was. But even if you don’t want to use iTunes to rip CDs, it’s a good idea to make one simple change, right now.
Way up in the upper-left corner, click the small down arrow next to the icon that looks like an open book. Choose Preferences. Tap or click the Import Settings icon near When You Insert a CD.
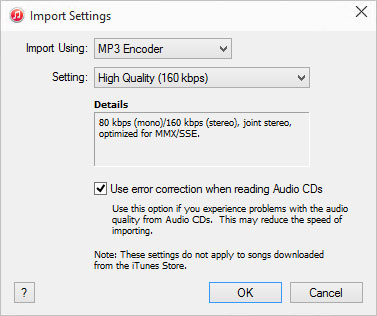
The Import Settings dialog box appears, where you can make sure iTunes rips to MP3 format.
Choose MP3 Encoder in the Import Using drop-down list.
That ensures the ripped music files appear as MP3 files. You may prefer AAC format (or WMA format, for that matter), but there’s nothing as clean — or as ubiquitous — as MP3. Keep in mind that AAC uses less space for high quality sound, and that iTunes doesn’t speak the Microsoft-proprietary WMA format.
Unless you rip many CDs every day, select the Use Error Correction When Reading Audio CDs check box.
Although using error correction may make the ripping process run a little slower — okay, much slower — it’ll guarantee that you get the best recordings possible from those old, dirty scratched CDs. You know you have them.
Tap or click OK, and then tap or click OK again.
You end up back in iTunes.
If you ever discover that iTunes failed to pick up a new song — one that you ripped from a CD, downloaded from the Internet, or bought from an online service — simply locate the song file or album folder in File Explorer and drag it into iTunes.
