


Whether you buy PowerPoint 2016 by itself or get it as a part of Microsoft Office, you also get access to an online collection of thousands of clip art pictures that you can drop directly into your presentations. The following steps explain how to insert picture art into your presentation:
Move to the slide on which you want to plaster the picture.
If you want the same picture to appear on every slide, move to Slide Master View.
On the Ribbon, choose Insert→Online Pictures.
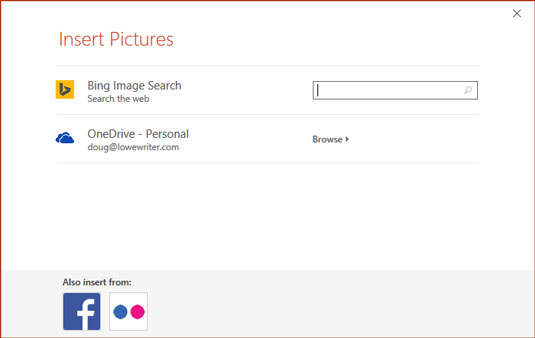
After a brief moment’s hesitation, the Insert Pictures dialog box appears, as shown.
Type a keyword in the Bing Image Search text box and then press Enter.
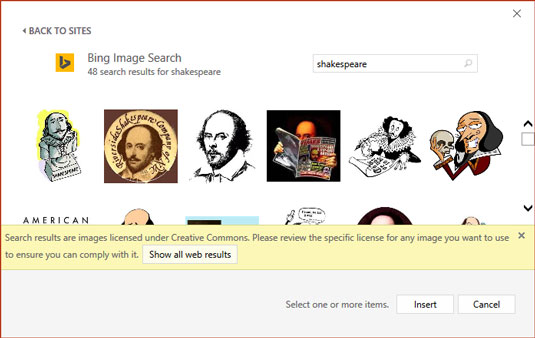
For example, to search for pictures of William Shakespeare, type Shakespeare in the text box and then press Enter.
PowerPoint searches Bing to locate the picture you’re looking for, and then it displays thumbnails of the pictures it finds, as shown.
Click the picture that you want to use, then click Insert.

The picture is inserted on the current slide, as shown. Notice that a special Picture Tools tab with tools for working with pictures has appeared. This Picture Tools tab appears whenever you select a picture object.
Note that some of the images displayed by Bing’s image search may be copyrighted, so make sure you have permission from the copyright holder before using images found on Bing.
Drag and resize the picture as needed.
If your picture has a white background, you may want to remove the background.


