


Images need not just sit on your web page exactly where you stick them. Instead, use CSS with your images to position them relative to other content, and add padding and border attributes to one or more sides.
To style an image, you have three options:
Create a tag redefine style for the tag to create a style that applies to all images on your page(s).
img { border: 2px dotted #069; }Create a custom class style that can be selectively applied to individual images as needed.
.myimg { border: 2px dotted #069; }
<img src="mygraphic.gif" alt="My Graphic" width="130" height="95" <b>class="myimg"</b>>
Create an ID style that automatically styles the image with a matching id attribute.
#mystyle { padding: 5px; border: 5px dashed #F90; }
<img src="mygraphic.gif" alt="My Graphic" width="130" height="95" <b>id="mystyle" name="mystyle"</b>>
In addition to these general image-formatting options, you may also add CSS style rules to your images that control how other objects sit on the page relative to the styled image. Using the float and clear style attributes, you can control whether other objects will float to the left or right of the styled object.
In addition, you can use these attributes to force other elements to move into the area below the styled object. For example, to make a series of images float and clear to the right of a block of text create a custom style with the float and clear attributes:
.imgfloatright {
 margin: 0 0 10px 10px;
 float: right;
 clear: right;
 }
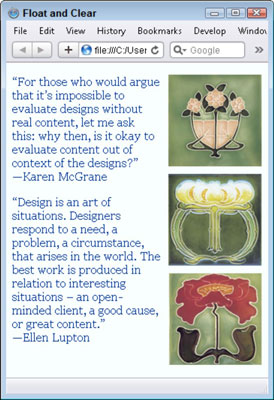
Then apply that style selectively to each image within the text block. The images should sit at the top of the block of text, as shown here:
<img class="imgfloatright" src="images/image.gif" width="100" height="100" alt=">
<img class="imgfloatright" src="images/image.gif" width="100" height="100" alt=">
<img class="imgfloatright" src="images/image.gif" width="100" height="100" alt=">
<p>“Any intelligent fool can make things bigger, more complex, and more violent. It takes a touch of genius -- and a lot of courage -- to move in the opposite direction.” —Albert Einstein </p>
<p>“Any people anywhere, being inclined and having the power, have the right to rise up, and shake off the existing government, and form a new one that suits them better. This is a most valuable - a most sacred right - a right, which we hope and believe, is to liberate the world.” —Abraham Lincoln </p>
Formatting After the layer has been named in the HTML, an ID style can be created to control the positioning, width, height, z-index, font family, font size, font color, background color, padding, and border of the layer. The following declaration shows example CSS for an ID style: Beyond that, the layer contents can be further styled with any combination of tag redefines, ID styles, custom class styles, and advanced combinators.#sidebar {
position: relative;
width: 350px;
height: 200px;
z-index: 1;
font-family: Arial, Helvetica, sans-serif;
font-size: 16px;
background-color: #F5F5F5;
color: #666;
border: 5px double #999;
padding: 20px;
}


