


- Sign into AWS by using your user account.
- Navigate to the API Gateway Console.
AWS displays a welcome message and displays a Get Started button (unless you created an API Gateway previously).
- Choose an API Gateway setup region from the Region drop-down list at the top of the page.
The example uses the Oregon region.
- Click Get Started.
AWS displays a message about creating an example API. The example produces a Pet Store API using Swagger, which is a popular application for producing APIs. You can create your APIs by using Swagger and import them directly into AWS.
- Click OK.
Notice that you can
- Create a new API using just the console functionality.
- Import a new API that you created using Swagger.
- Run the example API to see how API Gateway works.
This example uses the third option, Example API. You can see the JSON code used to create the example API below the three options. The options regarding warnings help you ensure that the API you import will actually work with Amazon. In most cases, you want to enable Fail On Warnings to ensure that you don’t import an invalid API description.
 You have a number of options for creating a new API on AWS.
- Choose Example API; choose Fail on Warnings; then click Import.
You see the Resources view. The Navigation pane on the left shows you the kinds of information that is available. In the middle is a hierarchical view of the API. The right pane shows a detail view of the selected resource. The API is only imported at this point. You can perform all sorts of additional tasks, such as creating new methods and resources. You can also view the details of a particular element, such as a method.
 The example shows a hierarchical view of the resources after you import the API.
 - Click POST in the Resource Tree.You see the POST method execution. Note that the conversation begins with the client. Each of the little bull’s-eye dots is a hint. You can click them to get additional information about that element. You can also click the major headings, such as Method Request, to learn more about that element and configure it as part of working with the API. To test the API, you click TEST (with the lightning bolt) in the Client element, as described in the next step.
 Detail views show how various Resource Tree elements work.
 - Click TEST in the Client element.
You see the display. This page shows all the potential elements required to make a test as well as which ones you actually require. For example, you don’t need any headers, stage variables, or client certificates. However, this example does require a Request Body entry to work properly.
 Performing a test means providing required inputs.
 - Type the following code in the Request Body field:
{"type": "cat", "price": 50.00}The JSON request asks for a pet of type cat at a price of $50.00.
- Click Test.
You see output.Note that you see the default headers with a status of 200 (showing a successful request). The response body contains the original request and a message value of success. The response headers show the kind of information you can expect from this kind of request. Finally, you see a series of log entries that tell you precisely how the request and response process proceeded. Now that you know the API works, you can deploy it.
 The testing process helps you visualize how the API will work.
 - Select the forward slash (/) entry in the Resource Tree.
To deploy an API, you must select the root node of the Resource Tree.
- Choose Actions → Deploy API.
You see a Deploy API dialog box. You must describe the level of deployment so that everyone working on the project will know the API’s status.
 After testing, you can deploy your API.
 - Choose [New Stage> in the Deployment Stage field.
- Type TestDeploy in the State Name field.
You may optionally include a stage and deployment description, but they aren’t required for the example.
- Click Deploy.
You see the detail information about the deployment. The information for your deployment will vary from the information you see here. Note especially the Invoke URL field near the top. The example is now ready to work with.
 The deployed API is ready for use, but you can still change some configuration settings.
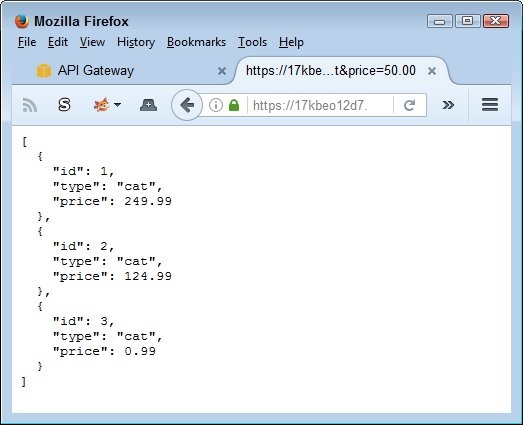 Use the
 GET method to ask for all the cat entries.You can also see a specific entry. All you need is the ID value added to the URL to see a specific entry. The output appears here.
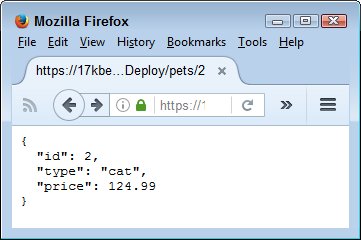 Provide an ID to obtain a specific entry.
To test the POST method easily, you need a third-party product such as Postman.


