


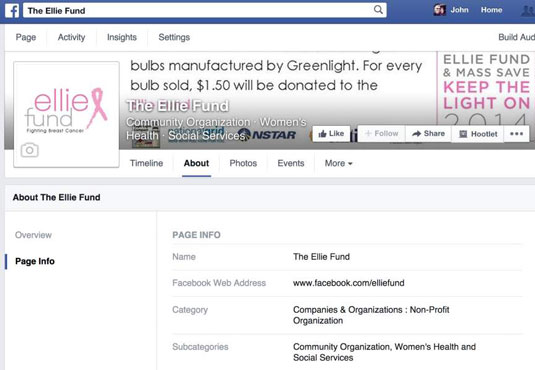
Facebook’s About tab contains detailed info about your business. Which details appear in these areas depends on which category and business type you chose when you created your Page. To add or edit information about your business, simply choose the About tab on your Facebook Page. You can edit each item within your About tab by mousing over that item to the right, where an Edit button will appear.
Here’s a general rundown of the various sections within the About section:
Business Info: Here you enter your basic contact information, such as a business address and phone number, as well as hours of operation. For bands, for example, this information would include band members’ names and the type of music the band plays.
Website: Add your website’s URL.
Company Overview and Description: Add your company’s boilerplate text about who you are and what you do. Or you can add content that’s more social and less “corporate” to give your Page more personality.
Mission: Add your mission statement. You don’t have to enter one if you don’t have one, or you can make up something provocative.
Products: Add a listing of your products or services.
Be sure to click the Save Changes button when you finish entering information or editing an item within the About tab.
Facebook Pages are public, and these fields can help you with the SEO of your Page. Fill them with content that contains the keywords under which you want to be found by a search engine.
Setting age, location, posting, and messaging restrictions
As a business owner, you have rules regarding those you do business with, and preferences about how you want customers and prospects to contact you. Liquor stores, for example, can sell alcohol only to people over a certain age. Facebook understands this fact and has built a few settings into Facebook Pages to restrict access to your business on Facebook.
Setting Page access allows you to restrict access to your Facebook Page by country: United States, Canada, United Kingdom, Australia, and several others. You can also restrict access by age: Anyone (13+); People Older Than 17, 18, 19, or 21; and Alcohol-Related (which represents the legal drinking age where the user resides). Restricting by age is something you may want to consider if you’re a local bar or a tobacco brand.
To access and edit your Page permission settings, follow these steps:
Click the Settings tab at the top of your Page.
On the General tab, scroll down to view the following settings to restrict access to your Page:
Country Restrictions: List the countries from you want to restrict access.

Age Restrictions: Make a selection if you want to restrict access to your Page based on the user’s age.
Posting Ability: Select these check boxes to allow anyone to post updates, photos, and videos to your Timeline. You can also review posts by others before they are published to your Page.
You should allow as much interaction as you can with your fans, so be sure to select these check boxes. If you’re in a heavily restricted industry and have a specific legal requirement to maintain control of your message, however, you may want to restrict your visitors’ ability to contribute.

Post Visibility: This setting allows you to display recent posts from Facebook users on your Facebook Page. If your business has a thriving community of customers, displaying this section on your Page can help amplify your community’s voice on your Facebook Page simply because what people post on your Page has more visibility.
Tagging Ability: This setting allows fans to tag other Facebook users and your Page in photos that you post on your Page. Keep in mind that only Timelines, not Pages, have the ability to tag photos on your Page.
Messages: You can also let fans send your business private messages. This feature works exactly like the messaging feature that all Facebook users have except for one important difference: Your Page is limited to two replies for every message sent to you (so making a first impression is critical).
Whether you decide to use this feature depends on your goals for the page, your brand, and other ways fans can contact you through your Facebook Page. If you have a contact form within a custom tab, for example, using the message feature could be redundant.
Click the Save Changes button for any settings you change.
You can change these settings at any time.
Configuring, commenting, and posting moderation settings
Facebook allows you to set up rules for comment moderation on your Page. This feature is especially useful when you remember that any Facebook user who has access to your Page can comment on your Page stories. Even if you deselected the Posting Ability options, Facebook users can still comment on any of your Page updates.
Within the Manage Permissions tab of your Page, you find two ways to automatically hide comments that contain specific words:
Page Moderation: To prevent certain words from being posted on your page, add them as keywords under Page Moderation. When users include any of these words in a post and/or comment on your Page, the content is automatically marked as spam and isn’t displayed on your Page.
Profanity Filter: Facebook blocks the most commonly reported words and phrases marked as offensive by Facebook users.


