

iMovie for iPad is a perfect tool for most video applications in education. Using iMovie, you can edit video, adding transitions and audio to create a movie from scratch.
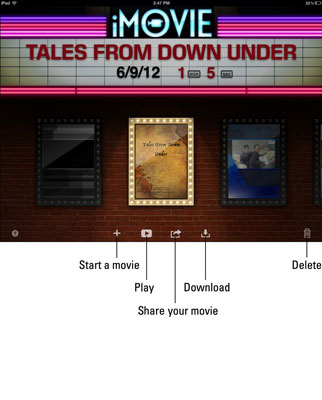
Tap the + icon on the bottom of iMovie’s opening marquee screen.
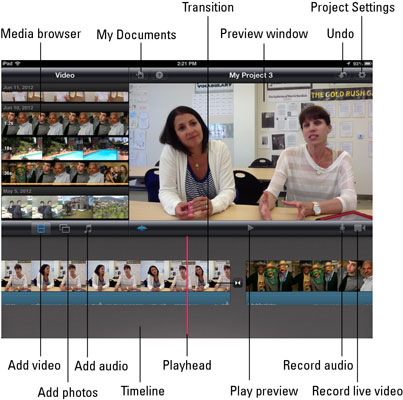
The iMovie editing screen appears. Note that if you’ve already added content, it appears in the Timeline at the bottom of the screen. Any additional content will be added to your movie at the current insertion point the playhead (a red vertical line) in your Timeline. Make sure to position the playhead at the right point before inserting new content.
Tap the Video button on the toolbar in the middle of the screen.
Available video clips in the Media Browser are displayed. Preview any clip by dragging your finger along it in the browser. Tap to select any clip; yellow trim handles appear at either end of it. Trim the clip before adding it by dragging its trim handles so that they encompass just the part of the clip you want to use. When ready, tap the blue arrow to insert your clip.
It’s always good practice to shoot a couple of seconds before your action and a couple of seconds after it ends. Having those extra seconds gives you footage to trim so you can capture exactly what you need.
As you insert videos into your project, iMovie adds an orange outline on the bottom of the clip in the Media browser. Even though you can use videos as many times as you want in a project, that little orange line makes it easy for you to see which clips you’ve already used and which you haven’t.
Tap the Photos button on the top of the Timeline to display the images in your Camera Roll and Photo library.
Tap any image to insert it into your Timeline. Photos will display for a few seconds and automatically get a Ken Burns effect (a panning and zooming effect named after the famous American documentary filmmaker) applied to them.
If your Playhead is in the middle of a video clip, the photo will be inserted at the start or end of the clip, whichever is closest.
Add new video or photos if you want.
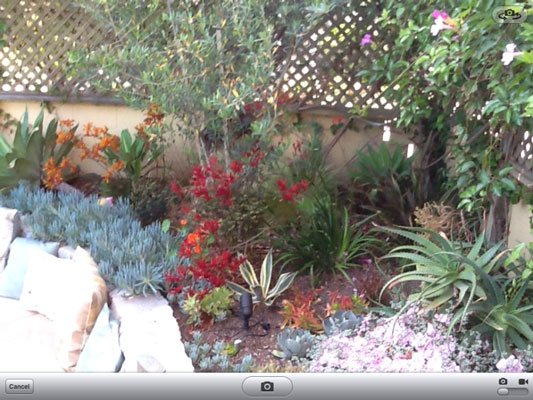
iMovie enables you to take photos and video on the go as you create and edit your movie. Tap camera icon on the right of the Timeline toolbar it to bring up your iPad camera, all ready for you to snap an image or take some video footage. Just say Cheese and shoot whatever you like, and the image or video is automatically added to your movie. Easy peasy.
Tap the Music icon on the toolbar to add a soundtrack.
Theme Music lists audio tracks that come included with iMovie, and a number of choices such as Playlist and Artists allow you to access and use music in your iTunes library.The Sound Effects category gives you a library of entertaining audio clips to use in your project.
Add narration to your movie by positioning the Playhead in your Timeline and tapping the microphone icon on the toolbar.
Tap Record on the pop-up menu to start recording and tap Stop when you’re done.
Although iMovie allows you to access and use any iTunes song as the soundtrack for your video, you still have to respect the content owner’s copyright. The doctrine of fair use allows only limited use of copyrighted material within the context of classroom instruction.
When you’re done editing, tap the My Projects icon (the document with the star) on the top toolbar to return to the home marquee screen.
Scroll and select a project on the marquee screen by tapping it. Tap the Play icon on the bottom of the screen to prepare and play back your movie . . . then enjoy the show.
You can tap the large name of your project on the top of the screen to edit and rename it.
Tap the curved-arrow icon on the bottom of the screen to pop up a list of sharing options.
Options include preparing a final, compressed version of your video that’s placed in your Camera Roll and uploading to YouTube, Vimeo, or Facebook. You can also send your iMovie file to your iTunes account, where it can be easily transferred and edited on another device.

