


Writing data from SPSS is easier than reading data into SPSS. All you do is choose File→Save As, select your file type, and then enter a filename. You have lots of file types to choose from. You can write your data not only in two plain-text formats, but also in Excel spreadsheet format, three Lotus formats, three dBase formats, six SAS formats, and six Stata formats.
If you’ll be exporting data from SPSS into another application, find out what kinds of files the other application can read, and then use SPSS to write in one of those formats.
A second form of output from SPSS is an image. If you’ve generated a graphic that you want to insert into your word processor or place on your website, SPSS is ready to help you do it.
From the SPSS Statistics Viewer, you can export images (and do some other things, too). Here’s how:
Produce a graph or table.
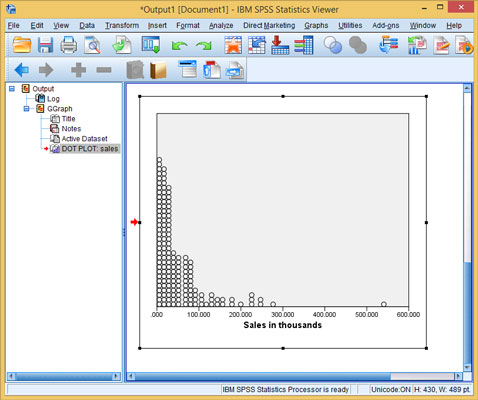
You can use any of the examples in Part IV to produce a graphic display. The SPSS Statistics Viewer window pops up and displays the output.
Choose File→Export.
The Export Output window appears.
 These selections control what gets output and into what format.
In the Objects to Export section, select which items to include in the output.
You can elect to have all objects output, all visible objects output, or only the ones you’ve selected. The visibility of an object refers to whether its name appears in the list — if you collapse the list so a particular name can’t be seen, the item is not visible. You can select items by clicking the items themselves, or by selecting their names in the list on the left.
In the Document section, from the Type drop-down list, choose an output format.
Your choices vary according to what you decided to output as specified at the top of the window. Here’s a list of the possible options:
Excel 97–2004 (*.xls): Excel files can include text, tables, and graphics, with the graphics embedded in the 97–2004 workbook. The data can create a new file or be added to an existing workbook. No graphic options are available.
Excel 2007 and higher (*.xlsx): Excel files can include text, tables, and graphics, with the graphics embedded in the 2007 and higher workbook. The data can create a new file or be added to an existing workbook. No graphic options are available.
Excel 2007 and higher macro enabled (*.xlsm): Excel files can include text, tables, and graphics, with the graphics embedded in the 2007 and higher macro-enabled workbook. The data can create a new file or be added to an existing workbook. No graphic options are available.
HTML (*.htm): HTML files can be used for text both with and without graphics. If graphics are included, those will be exported separately, and they’ll be included as HTML links. The graphic file type must also be chosen.
Web Reports (*.htm or *.mht): Creates an interactive document that is compatible with most browsers, including Cognos Active Report.
Portable Document Format (*.pdf): PDF documents exported will include not only text but also any graphics existing in the original. No graphics options are available.
PowerPoint (*.ppt): PowerPoint documents can be written as text with the graphics embedded in the TIFF format. No graphic options are available.
Text-Plain (*.txt): Text files can be output with graphic references included, and the graphics written to separate files. The reference is the name of the graphic file. The graphic file format is specified by choosing options in the lower section of this window.
Text-UTF8 (*.txt): UTF-8 is Unicode text encoded as a stream of 8-bit characters. Graphics are handled the same as they are for text files.
Text-UTF16 (*.txt): UTF-16 is Unicode text encoded as a stream of 16-bit characters. Graphics are handled the same as they are for text files.
Word/RTF (*.doc): Word documents are written in rich text format (RTF), which can be copied into a Word document. No graphic options are available.
None: When selected, this option means no text is output — only graphic images. The graphic file format is specified by options in the lower section of this window.
In the Graphics section, select the image file format, if one is needed, from the Type drop-down list.
You may be asked to select a format for your image file(s). You can select from .png, .bmp, .emf, .eps, .jpg, or .tif.
Click the Browse button, select the directory and root filename, and click Save.
Depending on what you chose to output, the actual output may be multiple files, and they’ll all have names derived from the root name you provide. The Save button doesn’t write the file(s) — it only inserts your selected name into the Export Output window.
Click OK.
The file(s) are written to disk — each in the chosen format, at the chosen location.


