Locate the downloaded copy of Anaconda on your system and double-click the installation file.
The name of this file varies, but normally it appears as Anaconda3-4.2.0-Windows-x86.exe for 32-bit systems and Anaconda3-4.2.0-Windows-x86_64.exe for 64-bit systems. The version number is embedded as part of the filename. In this case, the filename refers to version 4.2.0. If you use some other version, you may experience problems with the source code and need to make adjustments when working with it.
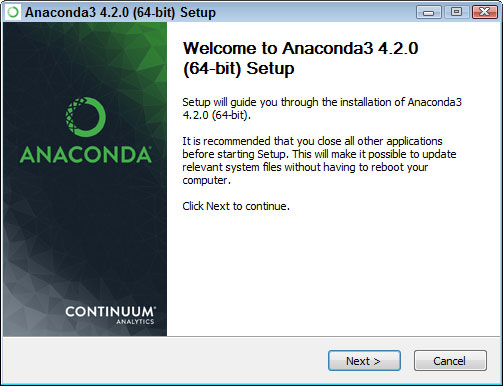
(You may see an Open File – Security Warning dialog box that asks whether you want to run this file. Click Run if you see this dialog box pop up.) You see an Anaconda 4.2.0 Setup dialog box similar to the one shown. The exact dialog box that you see depends on which version of the Anaconda installation program you download. If you have a 64-bit operating system, using the 64-bit version of Anaconda is always best so that you obtain the best possible performance. This first dialog box tells you when you have the 64-bit version of the product.
Click Next. Click I Agree if you agree to the licensing agreement.
The wizard displays a licensing agreement. Be sure to read through the licensing agreement so that you know the terms of usage.
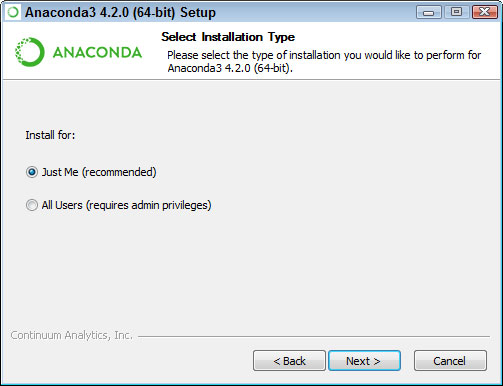
You’re asked what sort of installation type to perform. In most cases, you want to install the product just for yourself. The exception is if you have multiple people using your system and they all need access to Anaconda.
Choose one of the installation types and then click Next.
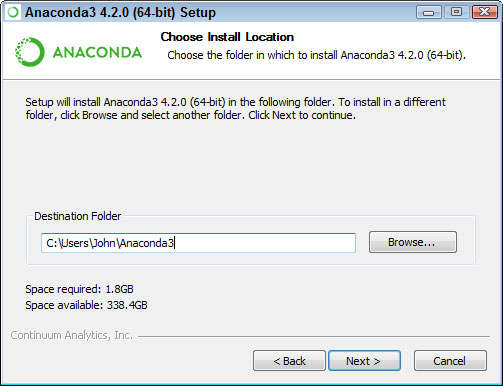
The wizard asks where to install Anaconda on disk, as shown. If you choose some other location besides the default, you may have to modify some procedures to work with your setup.
Choose an installation location (if necessary) and then click Next.
Change the advanced installation options (if necessary) and then click Install.

You see the Advanced Installation Options shown. These options are selected by default, and no good reason exists to change them in most cases. You might need to change them if Anaconda won’t provide your default Python 3.5 (or Python 2.7) setup.
You see an Installing dialog box with a progress bar. The installation process can take a few minutes, so get yourself a cup of coffee and read the comics for a while. When the installation process is over, you see a Next button enabled.
Click Next. The wizard tells you that the installation is complete.
Click Finish. You’re ready to begin using Anaconda.