


Once you've downloaded and installed Windows Live Messenger for Windows 7, you'll need to take a few minutes to set it up to suit you. If you take the time to do this when you first start Messenger, you can save yourself a lot of time cleaning up afterward.
If you already had Windows Live Messenger on Vista and upgraded to Windows 7, you may or may not be able to see it in Windows 7. The best thing to do is to go back to Windows Live and download the latest version. Once you download the Windows Live Messenger component of the Windows Live Essentials pack, you’re ready to begin.
Choose Start→All Programs→Windows Live→Windows Live Messenger.
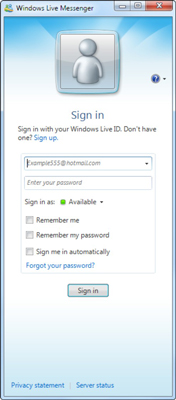
This step brings up the sign-in screen.
Fill in the sign-in box with your Windows Live ID and your password. If you’re at home or in a relatively secure office, select the Remember Me check box.
If you’re using a computer in a public place, don’t select any of the check boxes. Anybody can get on your computer through the public network and can start a Windows Live Messenger session pretending to be you. If you don’t have a password on your user account, think twice before you select this option.
(Optional) Select the Remember My Password check box, but do not select the Sign Me In Automatically check box. Click OK.
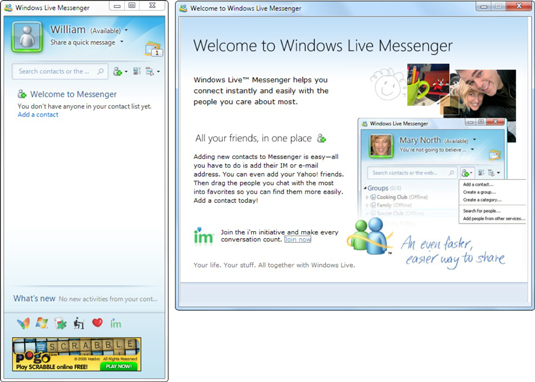
The two doughboys circle each other for a while, and then you see the Windows Live Messenger main screen, with a welcome screen to its right.
If you don’t have WLM sign you in automatically, it will be easier to use different IDs.
Click the Add a Contact link in the Messenger window.
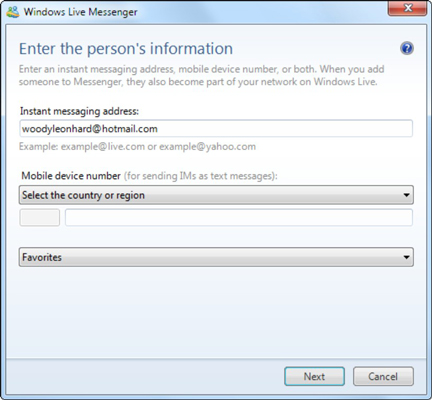
Messenger invites you to fill out the information for your messenger-enabled contact.
Fill out a contact’s information and then click the Save button.
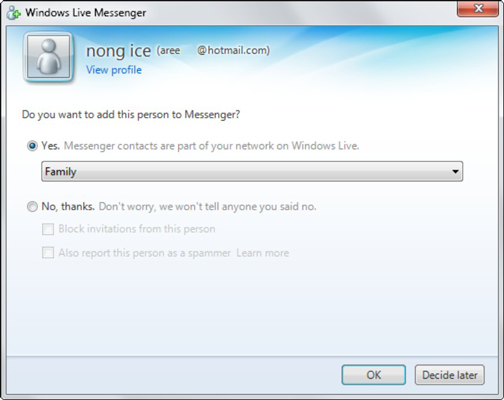
Normally, when you add a contact, she sees a message like the one in the figure. The contact gets to choose whether she wants you to see her. If your friend already added you to their buddy list they won’t receive a message.
To start a conversation, double-click the contact’s name.
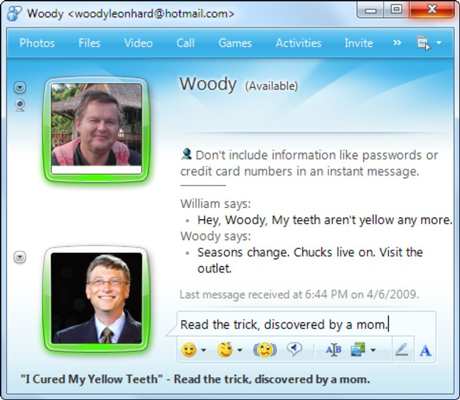
This launches the Messenger conversation interface.
Type your message in the box at the bottom of the Conversation window. Press Enter or click the Send button to send the message to your contact.
Although you’re limited in the amount of text you can type in the message box, if you press Enter, you can keep typing. You can also copy text from just about anywhere and paste it into the message box: Windows Live Messenger treats it as though you typed it all out.
(Optional) Click the camera image next to your contact’s picture to start a Webcam chat.
It’s best to ask the person you’re chatting with whether it’s okay before you start a Webcam.
When you’re done chatting with this contact, click the X (Close) button to exit the conversation.
Alternatively, you can click the down arrow to the right of the Show Menu icon and choose File→Close.
When all your conversations are over and you’re done with Windows Live Messenger, either click the X button or click the down arrow and choose File→Close.
Windows Messenger stays active in the background, listening for incoming messages.


