


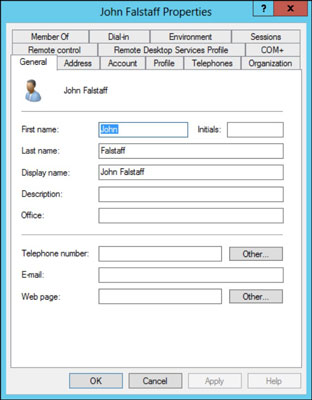
For each user account you create on your network, you can set additional properties for the user by right-clicking the new user and choosing Properties from the contextual menu. This command brings up the User Properties dialog box, which has about a million tabs that you can use to set various properties for the user.
The figure shows the General tab, which lists basic information about the user, such as the user’s name, office location, and phone number.
Change the user’s contact information
Several tabs of the User Properties dialog box contain contact information for the user, such as
Address: Change the user’s street address, post office box, city, state, zip code, and so on.
Telephones: Specify the user’s phone numbers.
Organization: Record the user’s job title and the name of his boss.
Set account options
The Account tab of the User Properties dialog box features a variety of interesting options that you can set for the user. You can change the user’s logon name, change the password options that you set when you created the account, and set an expiration date for the account.
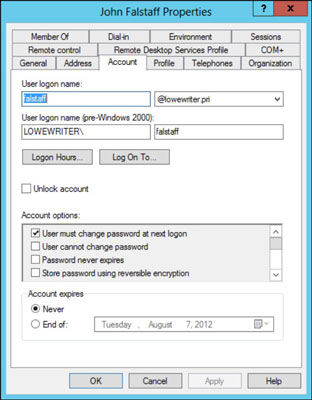
The following account options are available in the Account Options list box:
User Must Change Password at Next Logon: This default option allows you to create a one-time-only password that can get the user started with the network. The first time the user logs on to the network, he is asked to change the password.
User Cannot Change Password: Use this option if you don’t want to allow users to change their passwords. (Obviously, you can’t use this option and the preceding one at the same time.)
Password Never Expires: Use this option to bypass the password-expiration policy for this user so that the user will never have to change her password.
Store Password Using Reversible Encryption: This option stores passwords by using an encryption scheme that hackers can easily break, so you should avoid it like the plague.
Account Is Disabled: This option allows you to create an account that you don’t yet need. As long as the account remains disabled, the user won’t be able to log on.
Smart Card Is Required for Interactive Logon: If the user’s computer has a smart card reader to read security cards automatically, select this option to require the user to use it.
Account Is Trusted for Delegation: This option indicates that the account is trustworthy and can set up delegations. This advanced feature usually is reserved for Administrator accounts.
Account Is Sensitive and Cannot Be Delegated: This option prevents other users from impersonating this account.
Use DES Encryption Types for This Account: This option beefs up the encryption for applications that require extra security.
Do Not Require Kerberos Preauthentication: Kerberos refers to a common security protocol used to authenticate users. Select this option only if you are using a different type of security.
Specify logon hours
You can restrict the hours during which the user is allowed to log on to the system. Click the Logon Hours button on the Account tab of the User Properties dialog box to open the Logon Hours for [User] dialog box.
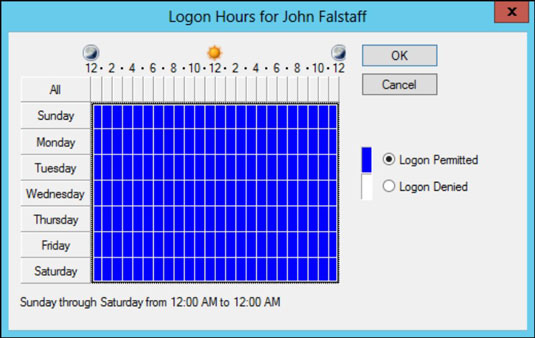
Initially, the Logon Hours dialog box is set to allow the user to log on at any time of day or night. To change the hours that you want the user to have access, click a day and time or a range of days and times, select Logon Permitted or Logon Denied, and then click OK.
Restrict access to certain computers
Typically, a user can use his user account to log on to any computer that’s part of the user’s domain. You can restrict a user to certain computers, however, by clicking the Log On To button on the Account tab of the User Properties dialog box. This button brings up the Logon Workstations dialog box.
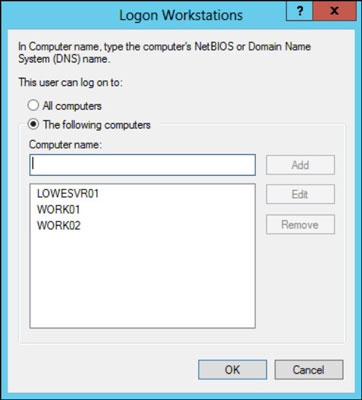
To restrict the user to certain computers, select The Following Computers radio button. Then, for each computer you want to allow the user to log on from, enter the computer’s name in the text box and click Add.
If you make a mistake, you can select the incorrect computer name and then click Edit to change the name. or click Remove to delete the name.
Set the user’s profile information
From the Profile tab, you can configure three bits of information about the user’s profile information:

Profile Path: This field specifies the location of the user’s roaming profile..
Logon Script: This field is the name of the user’s logon script. A logon script is a batch file that’s run whenever the user logs on. The main purpose of the logon script is to map the network shares that the user requires access to.
Logon scripts are carryovers from early versions of Windows NT Server. In Windows Server 2012, profiles are the preferred way to configure the user’s computer when the user logs on, including setting up network shares. Many administrators still like the simplicity of logon scripts, however.
Home Folder: This section is where you specify the default storage location for the user.
From the Profile tab, you can specify the location of an existing profile for the user, but it doesn’t actually let you set up the profile.
