


Clip art is a collection of images in Word 2013, both line art and pictures, that you’re free to use in your documents. Inserting a clip art image works much like inserting a graphics image, except that the clip art is organized. You can search for an image by name or category. Here's how it goes:
On the Insert tab, in the Illustrations group, click the Online Pictures button.

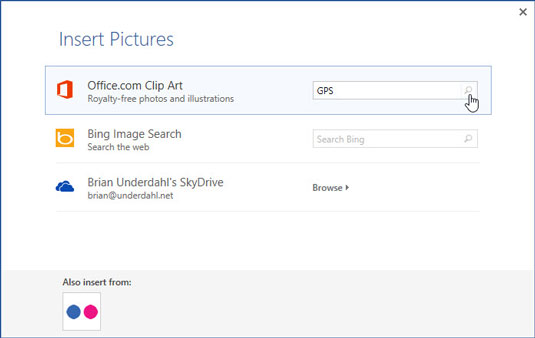
The Insert Pictures window appears.
In the text box by the option Office.com Clip Art, type a description of what you want.
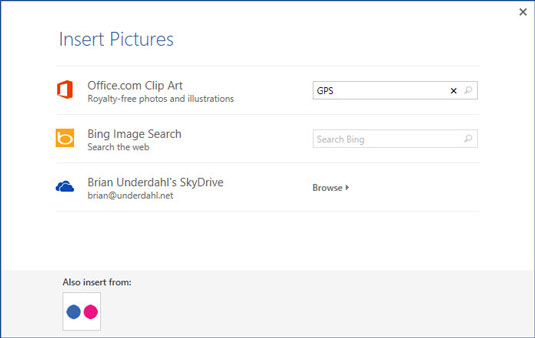
For example, a picture of a politician may go well with your report on misbehaving in public. Type politician in the box.
Press the Enter key.
Peruse the results that are displayed. You may have to scroll a bit to see all of them.
Click the image you want, or refine your search by repeating Steps 2 and 3.
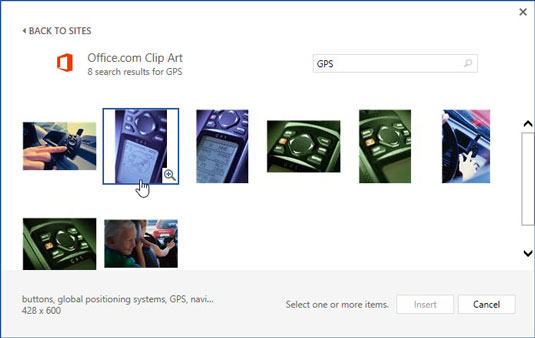
Click on the desired image.
Click the Insert button.

The image is downloaded from the Internet and thrust into your document.
Word sticks the clip art graphic into your text, just like it’s a big character, right where the insertion pointer is blinking. At this point, you probably want to move the image, resize it, or do other things.


