


Adding a forgotten field to your table in Access 2016 is as easy as stopping by the store to pick up forgotten milk. No need for angry words. With the field-challenged table open, calmly follow these steps to add the field you’re missing:
In Datasheet view, find the field heading aptly called Click to Add.
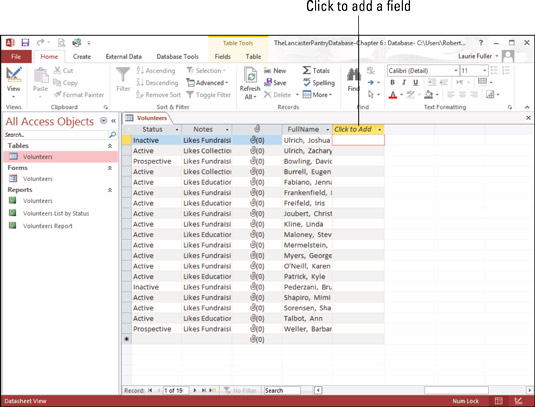
The column is typically placed at the end of your existing fields — so be prepared to scroll all the way to the end to see it.
Click the instructional Click to Add heading you found in Step 1.
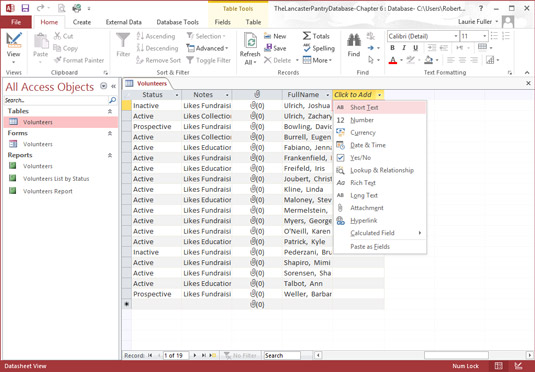
A pop-up menu appears, from which you can choose the type of field this new field will be.
Choose a field type from the list.
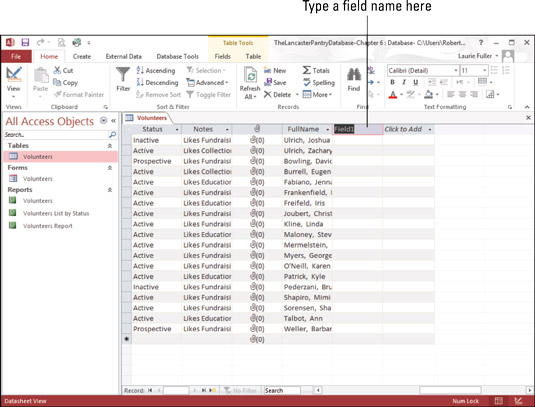
The new field appears, entitled Field1, and the Click to Add column moves over one column. Field1 is highlighted and awaiting your new name for it.
Type the name of your new field and press Enter.
Your new field is created.
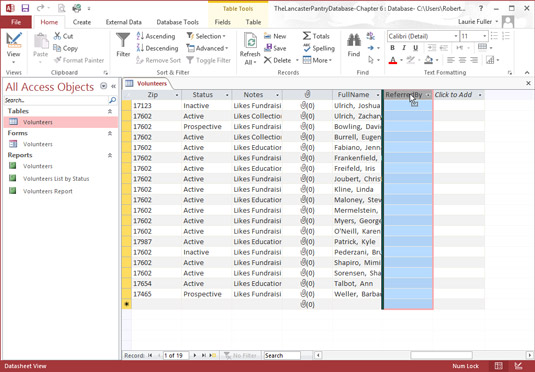
To rearrange your fields so the new field is where you want it to be among the existing fields, click the heading of the field column you just created — and then click again.
On the first click, the entire column is highlighted, and the black down-pointing arrow changes to a left-pointing white arrow. On the second click, the arrow acquires a small box just below it, indicating that you’re ready to move the column.
Drag to the left or right depending on where you want to drop your new field.
A thick vertical line follows you, indicating where the field will appear as soon as you release the mouse button.
When you’re happy with the intended location of the field, release the mouse button.
Your field is relocated.
By default, all fields created in Datasheet view are Short Text fields. If this isn’t the type of field you want, you can change the Data Type (as well as other settings) for the new field by doing the following:
With the field selected, click the Ribbon’s Fields tab from the Table Tools group.
You should see the Formatting section.
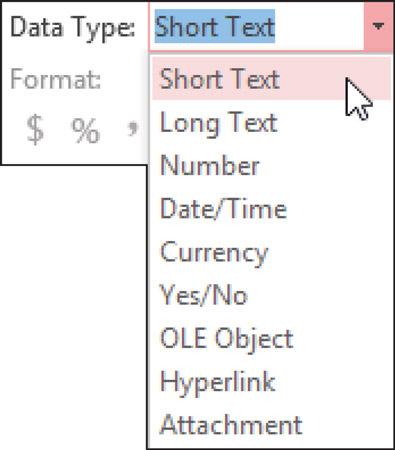
In the Formatting section of the tab, click the Data Type drop-down arrow.
You will see formatting options.
Choose a format — Short Text, Date/Time, Currency, Hyperlink, whatever — from the resulting list.
You can also tinker with settings that go with the data type you choose — for example, if you choose a Number format, you can use the buttons in the Formatting section to determine how many decimal places will appear onscreen.


