


Installing and managing a DNS server depends on the network operating system that you’re using. You can install the DNS server on Windows Server 2008 from the Server Manager application. Choose Start→Administrative Tools→Server Manager. Click the Server Roles, click the Add Roles link, and then follow the wizard instructions to add the DNS role.
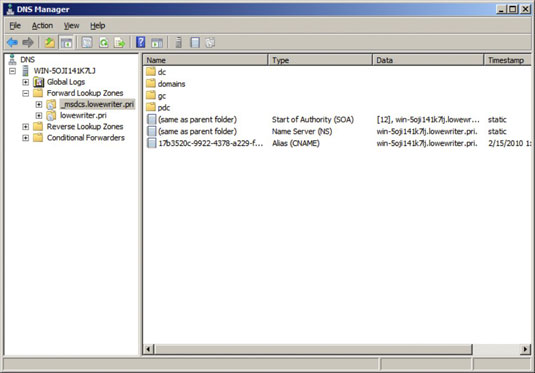
After you set up a DNS server, you can manage the DNS server from the DNS management console. From this management console, you can perform common administrative tasks, such as adding additional zones, changing zone settings, adding A or MX records to an existing zone, and so on. The DNS management console hides the details of the actual resource records from you, thus allowing you to work with a friendly GUI instead.
To add a new host (that is, an A record) to a zone, right-click the zone in the DNS management console and choose the Add New Host command. This brings up the New Host dialog box, as shown in the following illustration. From this dialog box, specify the following information:
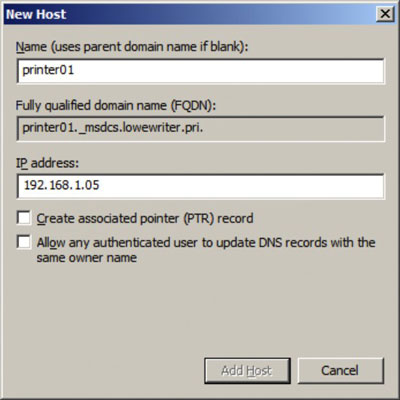
Name: The host name for the new host.
IP Address: The host’s IP address.
Create Associated Pointer (PTR) Record: Automatically creates a PTR record in the reverse lookup zone file. Select this option if you want to allow reverse lookups for the host.
Allow Any Authenticated User to Update: Select this option if you want to allow other users to update this record or other records with the same host name. You should usually leave this option deselected.
You can add other records, such as MX or CNAME records, in the same way.


