


The easiest way to create a SmartArt diagram in PowerPoint 2013 is to create a new slide and enter the bullet list as if you were going to display the list as normal text and then convert the text to SmartArt. Just follow these steps:
Create a new slide with the Title and Content layout.
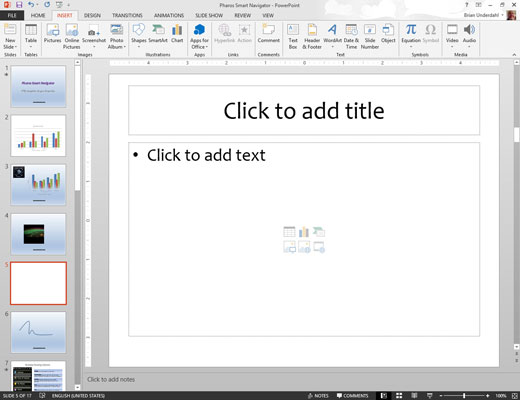
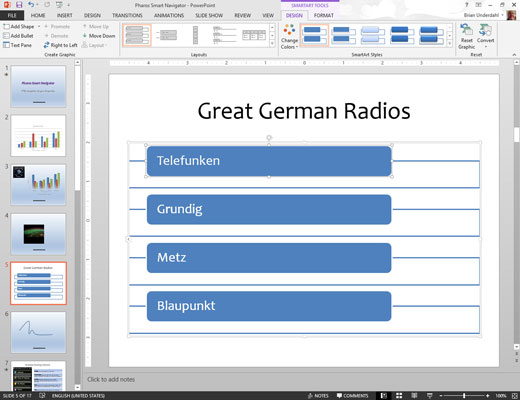
Type your bullet list. Use one or two levels of bullets, but try to keep the list as short and concise as you can.
Right-click anywhere in the list and choose Convert to SmartArt.
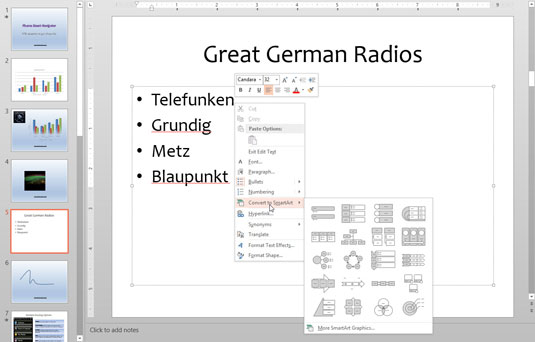
A menu of SmartArt diagram types appears.
Select the SmartArt type you want to use.
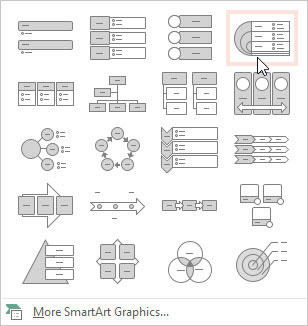
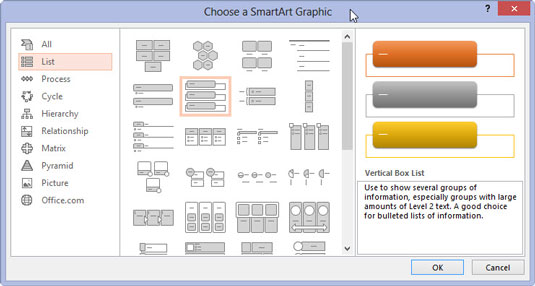
If the SmartArt type doesn’t appear in the menu, you can choose More SmartArt Graphics to display the Choose a SmartArt Graphic dialog box. As you can see, this dialog box lets you choose from about a million different SmartArt diagram types. PowerPoint offers eight basic categories of SmartArt diagrams.
Click OK.
The diagram is created.
Modify the diagram however you see fit.
You can keep tweaking your diagram until the end of time to get it perfect. But at some point, you have to say, Enough is enough, and call it finished.


