If you want to print from your iPad, there are several third-party apps to choose from. For example PrintCentral has a file browser and e-mail reader that allows you to access anything on your iPad, and it also allows you to print to a network printer across your Wi-Fi network. And, if you install the free printer server WePrint, provided by EuroSmartz, on your Mac or PC, you can even print to your printer remotely through a 3G connection on the iPad model that includes Wi-Fi and 3G.
After you download and install PrintCentral and WePrint, here is how you set them up to recognize your printer:
Plug your connector cable into your iPad and computer's USB port.
Open WePrint, and you see your server address.

Now open PrintCentral on iPad.
Tap the Getting Started file listed there to test your printer.
Tap the Print icon in the top-right corner, and the Print dialog appears.

Tap the Choose button and enter the server address you found in WePrint into the dialog that appears.
PrintCentral connects and displays all possible printers.

Tap the printer you want to use and then tap the Print button in the Print dialog.
The test document prints.
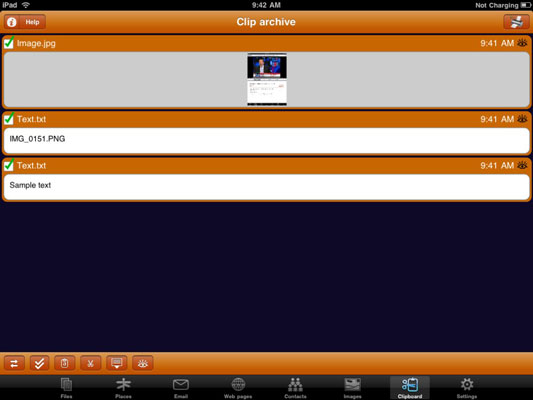
After you have it working, you can use the Menu button from within apps to open a document in PrintCentral and print it. In other apps, you can make a copy of a file, which places it on your Clipboard, then open the Clip archive in PrintCentral and choose the file you want to print and print it.