To change views, with Maps open, swipe the bottom right corner of the screen to turn the “page”.
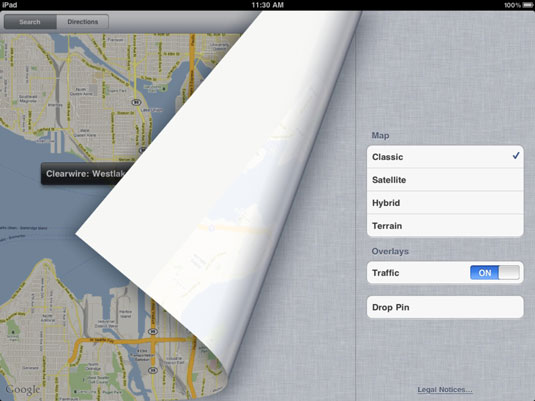
The Maps menu appears.
Tap the Satellite option.
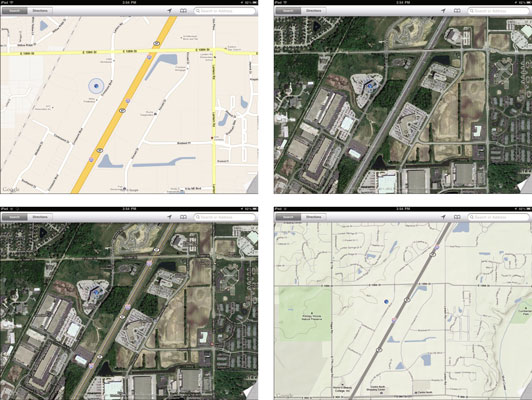
The Satellite view (shown here on the top-right in the enlarged view) appears.
Swipe to reveal the menu again and then tap Hybrid.
Hybrid view is actually Satellite view with street names superimposed (shown here on the bottom left in the enlarged view).
Swipe to reveal the menu one more time and tap Terrain.
A topographical version of the map is displayed (shown here on the bottom-right in the enlarged view), showing hills, mountains, and valleys. This view is helpful if you want to walk around San Francisco, for example, and avoid those steep streets!
On the Maps menu, there’s also a Traffic overlay feature. If you live in a more urban area (this feature doesn’t really work in small towns), the traffic overlay shows different colors on roads, indicating accidents or road closures. Green tells you you’re good to go, yellow indicates slowdowns, and red means avoid at all costs. Turn on this feature by tapping the On/Off button.