


You can select Protune by going to the Settings menu (the wrench icon) either through the camera or the GoPro App. Protune consists of a group of features that let you fine-tune GoPro capture. Adjusting your Protune settings won’t affect non-Protune video modes. You can reset your Protune settings to their default states.
White balance on the GoPro
You can access this setting through the Protune menu. The icon resembles two triangles looking to catch a small rectangle. White balance adjusts the color temperature between the actual color of the scene and the way your camera records it. By default, white balance on your GoPro is set to Auto, which works pretty well in most situations. If you really want to control the color temperature, however, you can set the white balance manually with several presets (see the figures):
3000K: Comes close to the color temperature of indoor lighting.
5500K: Matches the color of daylight.
6500K: Matches the tone of an overcast day.
Camera Raw: Doesn’t apply any white-balance setting, so it’s pretty much native out of the camera.
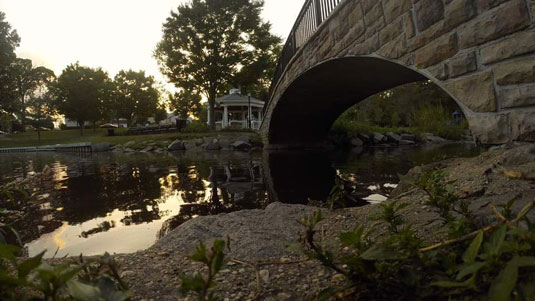
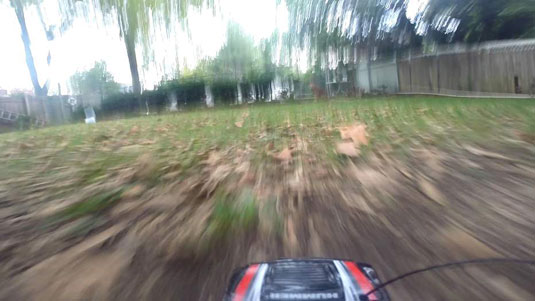
 Outdoor scene captured with the 3000K setting.
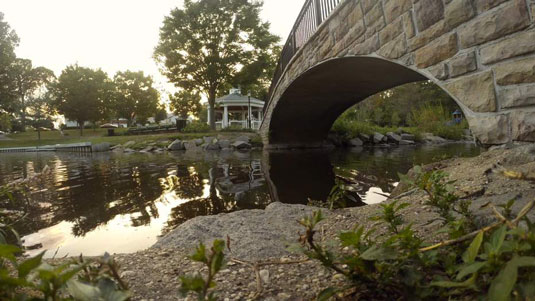
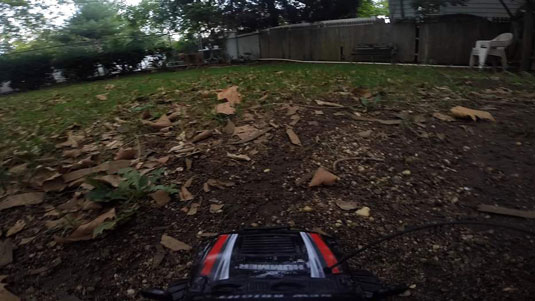
 Outdoor scene captured with the 5500K setting.
 Outdoor scene captured with the Camera Raw setting.
ISO settings on the GoPro
This setting alters the sensitivity of the sensor. For shooting outdoors, you should set the camera to ISO 400, which allows you to adequately capture outdoor scenes with enough light. This setting also captures the scene with the least amount of noise.
When you choose to shoot at dawn or dusk, however, or maybe indoors, you may not have enough light to render the scene properly. To capture a brighter image, you need to bump it up a little bit by increasing the sensitivity of the sensor, which you do by raising the ISO setting.
The good news is that you can capture the scene with better exposure. The bad news is that the improved exposure comes at the expense of quality: You’ll have noise and grain in the image.
It’s a good idea to keep the camera set at the default ISO 400 and make adjustments at those times when you need more light. That way, you can consistently produce clean video. These figures show the extremities of this setting.
Here are the ISO settings:
400: The default setting provides the best image quality in normal light conditions. When you use it in lower light levels, your video will be darker than normal.
1600: Ideal for moderately bright scenes, this setting produces slightly more image noise but is still within acceptable range. Make sure that you set it back to 400 when shooting in bright light.
6400: Use this setting to capture brighter video in low light (but with increased image noise).
Sharpness on the GoPro
Like most digital cameras, the GoPro adds digital sharpness after capturing footage to give it the appearance of being sharper. By default, it applies high sharpness to the image, but you can change that setting in Protune to medium or low. The footage will definitely appear softer.
You can always enhance it in postproduction, reminiscent of the Camera Raw setting on your DSLR (digital single lens reflex camera). Having control of the footage plays a big part in the look of your movie. You can adjust all these settings on the camera or in the GoPro App on your smartphone (see this figure).
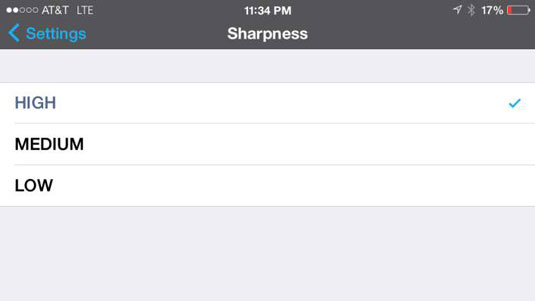
You can choose one of three settings:
High: The default setting applies a great deal of sharpness to the scene. Sometimes it looks fake. That’s because sharpness is added (along with other settings) while the image is being processed after you capture it.
Medium: This setting is still pretty sharp but provides a bit more realistic appearance to some situations.
Low: This setting captures video with the least amount of sharpness but provides the most flexibility in postproduction.
Color on the GoPro
By default, your camera is set to GoPro Color, which is vibrant and saturated, and makes the video look great. When you’re trying to match what you shot on your GoPro with footage captured with another camera, it’s a bit harder to match the color.
If you change the setting to Flatter Color, you can do more in postproduction, especially when you’re looking to match footage. If not, the GoPro Color setting works pretty well.
Exposure compensation on the GoPro
Exposure compensation provides a little more control by telling the camera to adjust exposure above or below the normal automatic exposure setting. These next figures show variations in exposure compensation.
You can see how greatly they differ. You can adjust brightness only within the existing ISO limit. If brightness has already reached the ISO limit in a low-light environment, increasing it won’t have any effect.
This feature offers the following settings:
+2.0
+1.5
+1.0
+0.5
+0.0
–0.5
–1.0
–1.5
–2.0
Resolution on the GoPro
Protune gives you access to more resolutions and frame rates (see the table).
| Resolution | Frame Rate (fps) |
|---|---|
| 4K / 4K (17:9) | 15, 12.5, 12 |
| 2.7K, 2.7K (17:9) | 30, 25, 24 |
| 1440p | 48, 30, 25, 24 |
| 1080p | 60, 50, 48, 30, 25, 24 |
| 1080p (SuperView) | 60, 50, 48, 30, 25, 24 |
| 960p | 100, 60, 50 |
| 720p | 120, 100, 60, 50 |
| 720p (SuperView) | 100, 60, 50 |

