
The following steps show how to configure your network connection on a Windows 10 system:
-
Click the Start icon (or press the Start button on the keyboard), and then tap or click Settings.
-
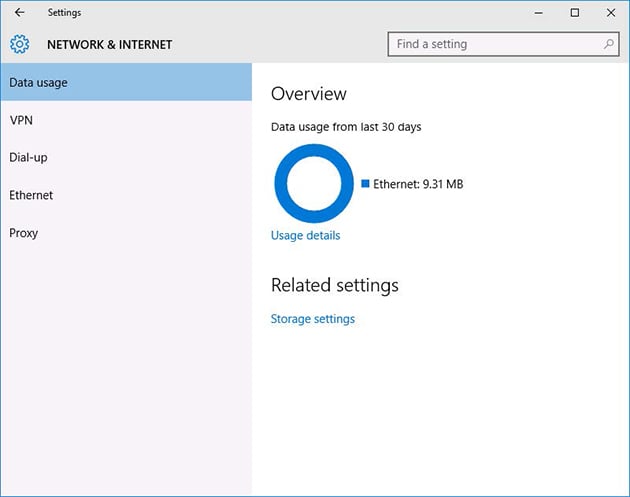
Click Network & Internet.
The Network and Internet page appears, as show in the figure below.
-
Click Ethernet.
-
Click Change Adapter Options. The Network Connections page appears, as shown in the figure below.

-
Right-click the connection that you want to configure and then choose Properties from the contextual menu that appears.
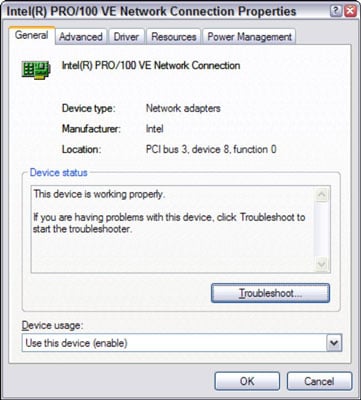
This action opens the Ethernet Properties dialog box. This dialog box has seven tabs that let you configure the adapter:
-
General: This tab shows basic information about the NIC, such as the device type and status. For example, the device shown is an Intel Pro 100 network interface.
-
Advanced: From this tab, you can set a variety of device-specific parameters that affect the operation of the NIC. In most cases, you should leave the options on this tab alone.
- About: Displays information about the device's patent protection
-
Driver: This tab displays information about the device driver that’s bound to the NIC and lets you update the driver to a newer version, roll back the driver to a previously working version, or uninstall the driver.
-
Details: With this tab, you can inspect various properties of the adapter, such as the date and version of the device driver. To view the setting of a particular property, select the property name from the drop-down list.
-
Events: Lists recent events that have been logged for the device
-
Power Management: Lets you configure power management options for the device
When you click OK to dismiss the network adapter’s Properties dialog box, the network connection’s Properties dialog box closes and you're returned to the Network Connections page. Right-click the network adapter and choose Properties again to continue the procedure.
-
-
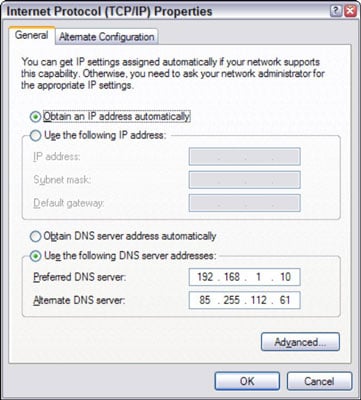
To configure TCP/IP settings, click Internet Protocol Version 4 (TCP/IPv4) and then click Properties to display the TCP/IP Properties dialog box. Adjust the settings and then click OK.
The TCP/IP Properties dialog box lets you choose among these options:
-
Obtain an IP Address Automatically: Choose this option if your network has a DHCP server that assigns IP addresses automatically. Choosing this option dramatically simplifies administering TCP/IP on your network.
-
Use the Following IP Address: If your computer must have a specific IP address, choose this option and then type the computer’s IP address, subnet mask, and default gateway address.
-
Obtain DNS Server Address Automatically: The DHCP server can also provide the address of the Domain Name System (DNS) server that the computer should use. Choose this option if your network has a DHCP server.
-
Use the Following DNS Server Addresses: Choose this option if a DNS server isn’t available. Then type the IP addresses of the primary and secondary DNS servers.
-