
These instructions and screenshots describe the installation of the Arduino software and Arduino Uno drivers on Windows 7, but the same instructions work just as well for Windows Vista and Windows XP.
The only hurdle to jump is in Windows 8, which for the time being, at least, requires a few tricks to install the drivers. You can find a discussion on the Arduino forum titled “Missing digital signature for driver on Windows 8” that details a workaround.
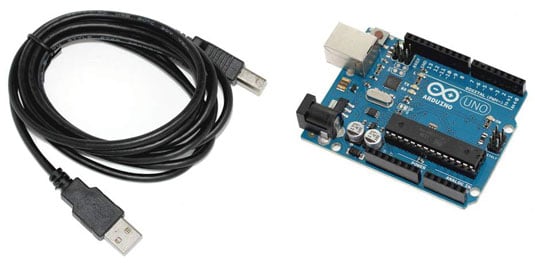
With your Arduino Uno and a USB A-B cable at hand, follow these steps to obtain and install the latest version of Arduino on your version of Windows:
Open the Arduino downloads page and click the Windows link to download the .zip file containing a copy of the Arduino application for Windows.
Currently, the zipped file is 90.7MB. That’s quite a large file, so it may take a while to download. When downloading is complete, unzip the file and place the Arduino folder in an appropriate location, such as
C:/Program Files/Arduino/
Plug the square end of the USB cable into the Arduino and the flat end into an available port on your PC to connect the Arduino to your computer.
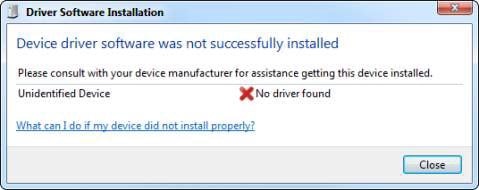
As soon as the board is connected, the green LED labeled ON indicates that your Arduino is receiving power. Windows then makes a valiant effort to find drivers, but it will likely fail. It’s best to close the wizard and install the driver yourself, as described in the following steps.
Open the Start Menu and type devmgmt.msc in the Search Programs and Files box; then press Enter.
The Device Manager window opens. Device Manager shows you all the different hardware and connected peripherals in your computer, such as your Arduino board.
If you look down the list, you should see Arduino Uno with an exclamation mark next to it. The exclamation mark indicates that it is not yet recognized.
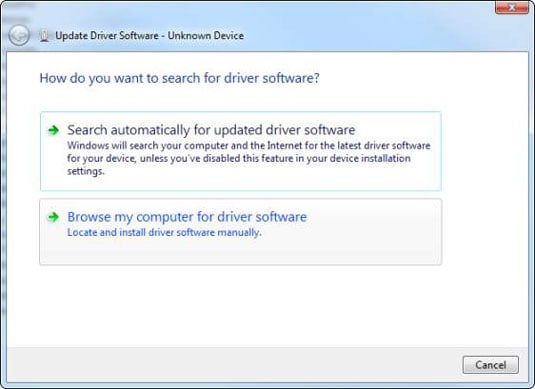
Right-click Arduino Uno and select Update Driver Software in the list that appears; then click the Browse my Computer for Driver Software option.
The window advances to the next page.
Click Browse to find your Arduino folder.
You should find this folder in the location you saved it to in Step 1 of these steps.
Within your Arduino folder, click the Drivers folder and then click the Arduino UNO file.
Note that if you’re in the FTDI USB Drivers subfolder, you have gone too far.
Click Next, and Windows completes the installation.
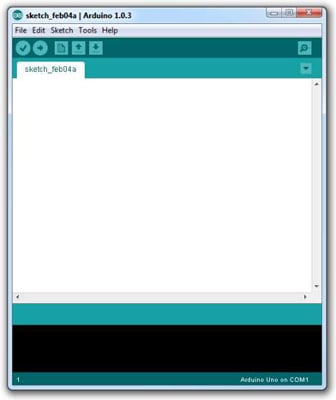
After you’ve taken care of the software installation, an easy way to launch the program is to place a shortcut on your desktop or your computer’s Start menu, whichever you prefer. Just go to your main Arduino folder, find the Arduino.exe file, right-click and click Create Shortcut to make a shortcut. Double-click the shortcut icon whenever you want to launch the Arduino application. This opens a new sketch window.