Drywall typically gets two kinds of damage: gouges and cracks. Gouges are almost always caused by accidents, and hairline cracks are caused by the normal expansion and contraction of your house through the seasons. And unrepaired hairline cracks grow into large cracks. You may also need to use a patch for some large holes. But, repairing large cracks in drywall isn't difficult.
Gather your materials.
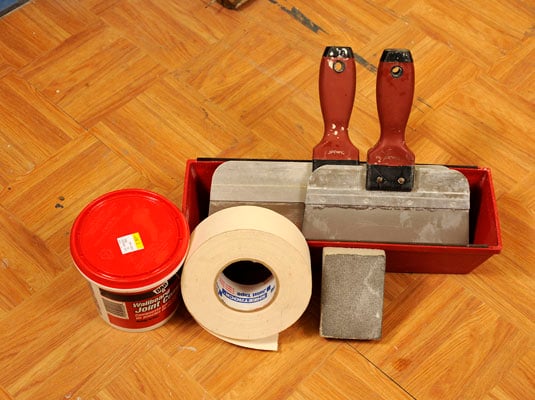
You’ll need a 6-inch taping knife, a 10- or 12-inch taping knife, 1 square piece of plywood or a plastic mud pan, drywall compound, drywall tape (paper or fiberglass), and fine-grit sandpaper and a sanding block.
Clean out the crack.
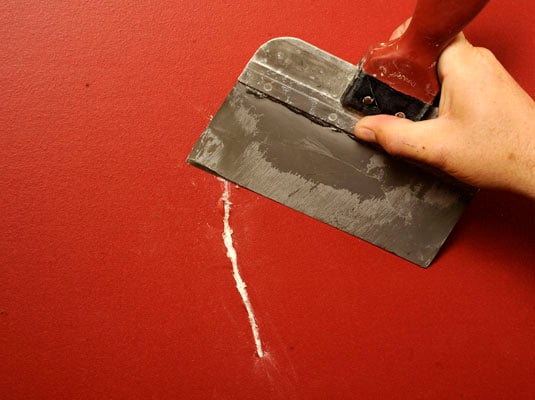
Use your taping knife to scrape the edges of the crack to remove any dust.
Put some compound on the plywood or mud pan.
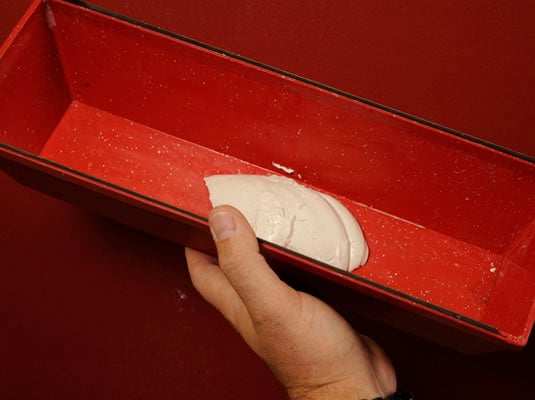
This makes it easy to load onto the knife.
Apply a light coating of compound to the crack using the 6-inch taping knife.
Make sure that the coating is wet but not thick.
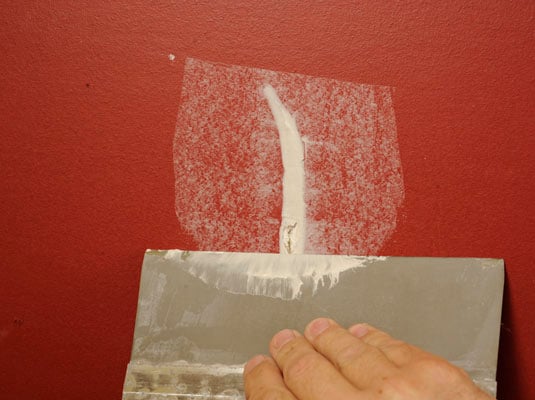
Embed the tape in the compound immediately.

Lay the tape over the compound you just applied and use the knife to push the tape into the compound. If necessary, cut the tape in short lengths to follow the line of a really crooked crack.
If you bought fiberglass tape, you can skip the embedding coat of compound under the tape because it is self-sticking. Otherwise, you do everything the same way.
Warning: Fiberglass tape is thicker than paper tape, which makes it harder to repair invisibly.
Scrape the tape with the wider knife to scrape away any excess compound.
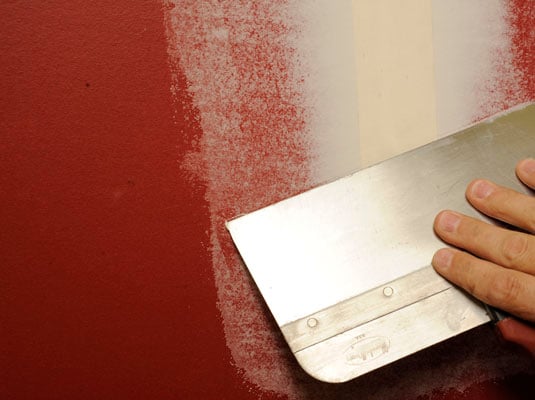
Use a smooth scraping motion.
Apply a thin coat of compound over the tape using the 6-inch knife.
Be sure to feather the edges. Let the patch dry completely (usually overnight).
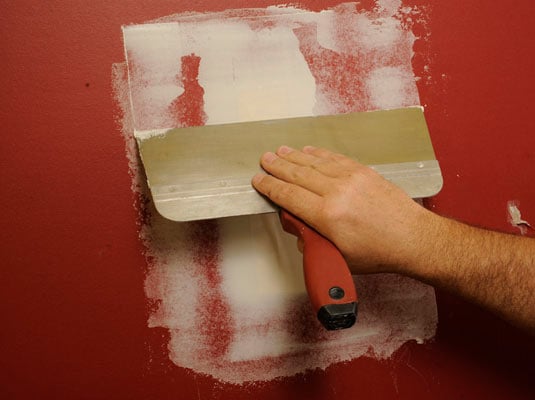
After the first coat is dry, apply a second coat with the wide knife.
By using a wider knife, you blend out the original edges. Make sure to feather the edges again. Again, let it dry.
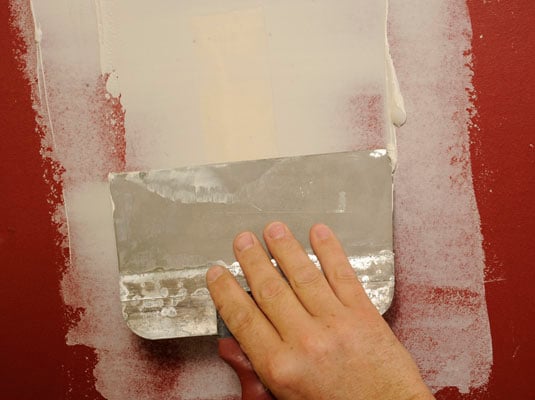
Allow to dry and then apply a final coat.

Follow the same procedure as before.
Sand the patch until smooth.
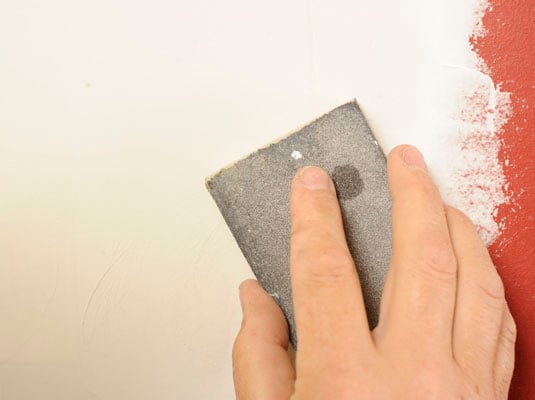
Use a fine-grit paper to smooth out the surface.
Paint over the patch with primer.
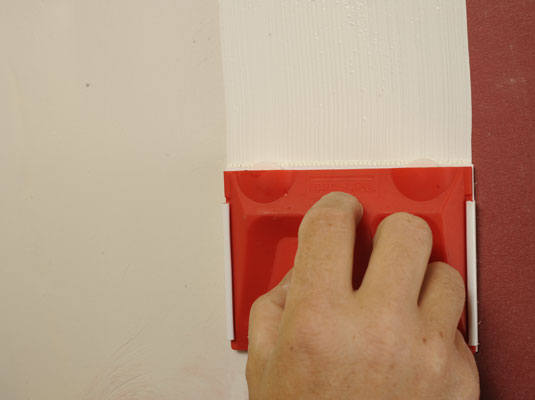
Don’t skip this step or you’ll end up with a permanently goofy-looking, non-matching area.
Apply touch up paint to the patch in your wall color.
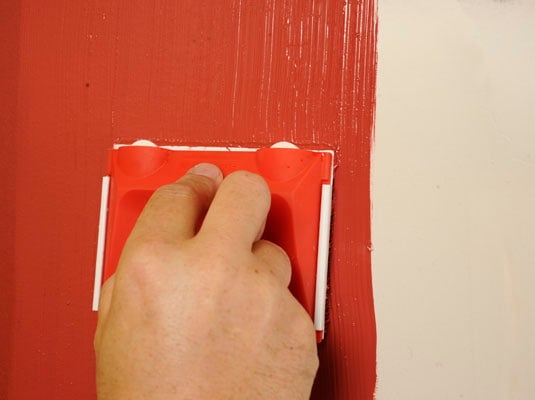
This is why you saved that half a gallon of leftover wall paint.