
The Quick Access toolbar looks the same no matter which Outlook 2013 module you’re using, so you might consider holding off on customizing the Ribbon until you’re sure that you can’t get what you’re after by customizing the Quick Access toolbar instead.
Remember, also, that the Ribbon is made up of several tabs, and each Outlook module has a different Ribbon, each of which has a different set of tabs and a different set of buttons. If you add a button to the wrong part of the Ribbon, you might not be helping yourself.
Follow these steps to customize the Ribbon:
Go to the Outlook module Ribbon, and click the tab that you want to modify.

The Ribbon you’re about to modify appears on the screen.
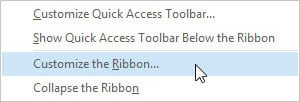
Right-click any area of the Ribbon.
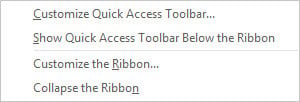
A shortcut menu appears.
Choose Customize the Ribbon.
The Outlook Options screen appears.
Drag the command you want to add to or remove from the Ribbon to the spot where you want it to appear.
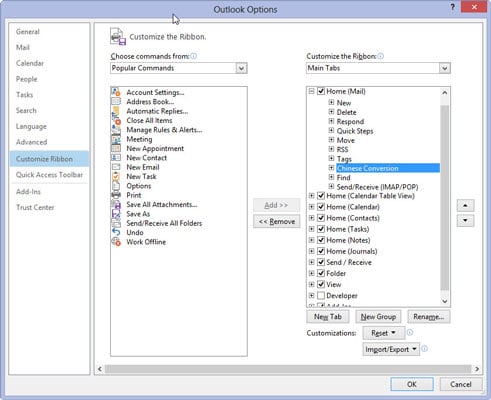
By dragging, you can change the order in which buttons appear on the Ribbon to suit your preference. If you want to add a whole new command to a Ribbon, click the New Group button first and then add the command to the new group. For example, if you want to add a Quick Print button to the View tab of any ribbon, you need to create a new group first.
Click OK.