
Word 2013 doesn’t let you alter the basic groups it places on the Ribbon, but you can add your own custom groups to existing tabs and create your own tabs. This activity is recommended only for experienced Word users, or for those just desperate to customize the way Word looks. Here’s how that operation works:
Click the File tab.
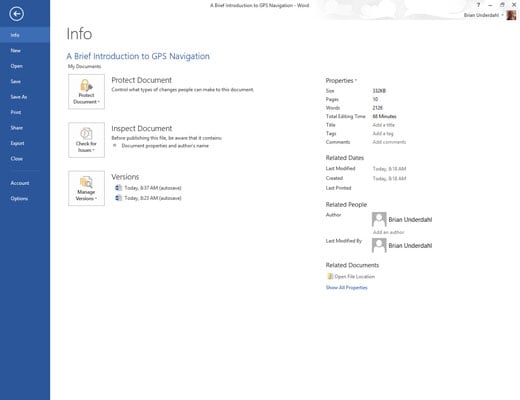
Word displays the Backstage view where you can make changes.
Choose Options.
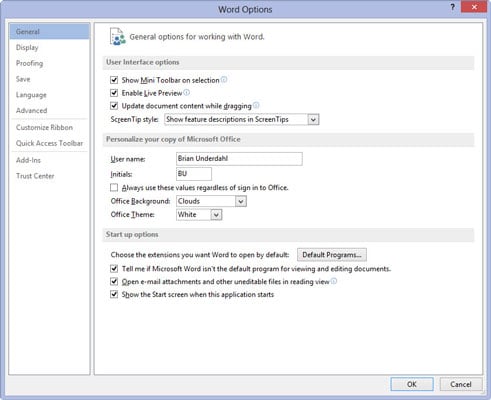
This displays the Word Options dialog box where you can choose various options that affect how Word functions.
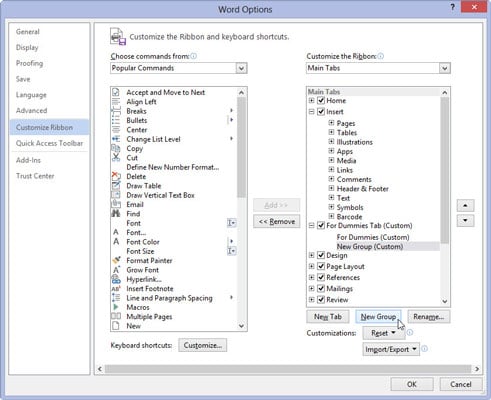
In the Word Options window, choose Customize Ribbon.
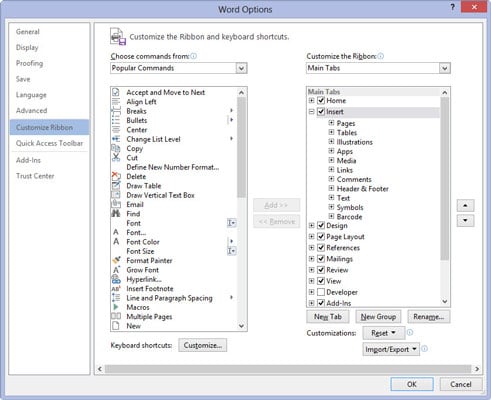
The Word Options window changes its appearance. Tabs on the ribbon are listed on the right; Word commands are shown on the left.
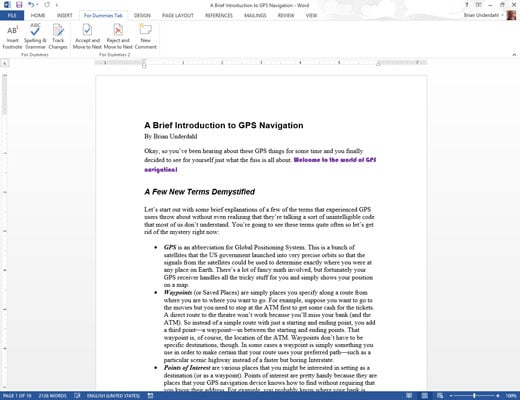
Click the New Tab button to create your own custom tab.
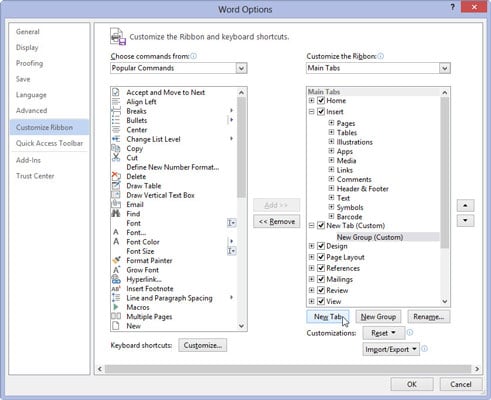
The tab is named New Tab. If you like that, you can move on. If not, follow the next set of steps.
Select the New Tab item, and click the Rename button.
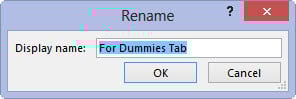
Name your tab something descriptive, like Unicorn or Hockey Puck. Click OK to lock in the new name.
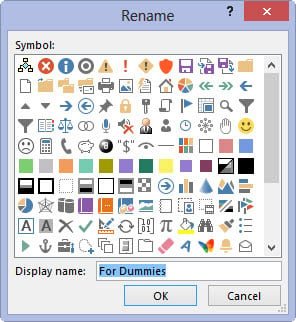
Click the New Group (Custom) item to rename it as well: After selecting that item, click the Rename button and type in a new name.
All tabs must have at least one group. You can populate that group with commands, or create another group and divide the commands to organize things. It’s up to you.
To create a new group, click the New Group button.
The New Group appears. Heed the directions to rename it to something other than New Group.
The next stage in this production is to populate your tab and its group(s) with Word command buttons.
Ensure that a group for your new tab is selected on the right side of the screen.

Commands you add are added to the currently selected group. You’ll probably want to add related commands to the same group.
Choose a command from the left side of the screen.
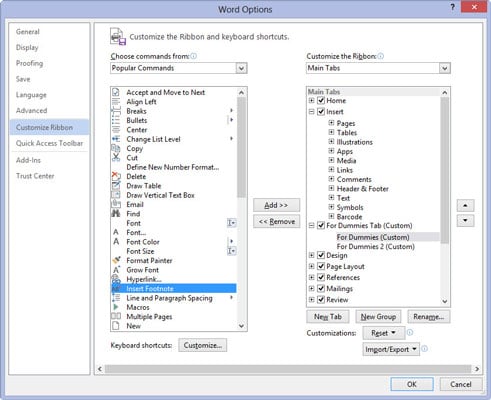
You can select a command category from the menu list at the top of the dialog box. Popular Commands lists only common Word commands. The All Commands item lists every possible Word command.
Click the Add button to place the command onto your new tab and group.
Repeat the last two steps to populate the tab.
Click the OK button when you’re done. Don’t worry; you can always edit the tab by repeating Steps 1 through 3 and then moving or rearranging items in the groups.