Here are some basic hand tools you will need for building nearly all the beehive build plans you'll likely come across:
Brad driver: Sometimes called a brad pusher, this spring-loaded tool allows you to push a small brad into wood. No hammering and no smashed thumbs! Just slip a finish brad nail into the spring loaded tube and press the tube against the wooden part you’re attaching. The little brad slides right into place.
This is a very handy tool when assembling frames and installing foundation. It makes short work of attaching the wedge bar that holds the foundation in place.
Carpenter’s hammer: You can find a type of hammer for just about every application, but what you want for these building projects is a carpenter’s hammer with a 16 to 20 ounce head. Chances are the hammer you already have at home falls into this category.
If you’ll be making lots of beehives and equipment, be sure to invest in a quality hammer (with good balance and a good grip). It costs a bit more than a standard hammer, but there’s a big difference in ease of use.
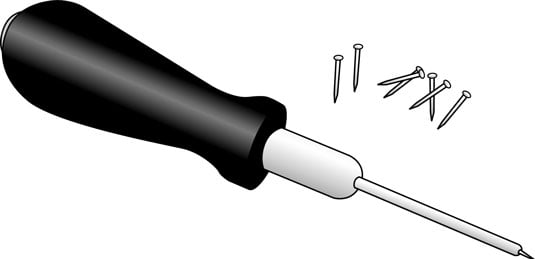 A brad driver is an excellent tool when it comes to assembling frames and foundation.
Carpenter’s pencil: This may not be essential. Any pencil can mark measurements on your lumber. But a carpenter’s pencil is oversized (making it easier to handle) and flat, not round, meaning it won’t roll off the worktable, resulting in time on your hands and knees looking for it. For under half a dollar, it’s worth the investment.
 The fat design of a carpenter’s pencil makes it easy to handle, and being flat keeps it from rolling off your worktable.
Carpenter’s square: Sometimes called a try square, this is a must-have tool to ensure that your assemblies are true and square. If they’re not, you’ll have some seriously wobbly equipment. You can get various length blades on a carpenter’s square, but the 8 to 12 inch length is most useful for these projects.
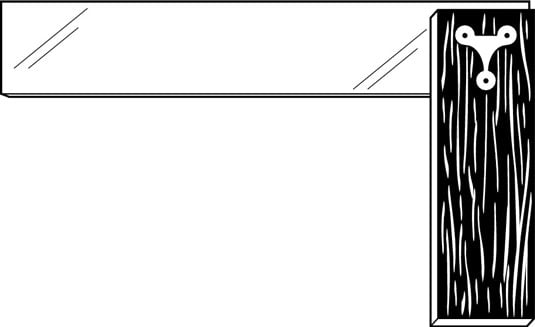 Continually check your assemblies for “squareness” using a carpenter’s square.
Paintbrushes: You’ll probably want to protect your woodenware from the elements by applying a good quality outdoor paint, an exterior polyurethane, or marine varnish. Therefore, you need a variety of paintbrushes. I like to use inexpensive disposable brushes (there’s no cleanup!).
Good brushes are typically 2 inch and 4 inch wide brushes. True, cheap brushes can sometimes leave a few loose bristles in the finish, but hey, you’re making beehives, not museum furniture.
Power drill: You can use a power drill with a cord, but the cordless, battery-powered version is my favorite for portability and ease of use. The 18- or 20-volt models hold a good charge and have lots of torque (twisting power).
Most cordless drills let you select the amount of torque. Dial up more torque when you need more driving power to set a screw; dial it down if your screws are going too deep or you’re stripping the head of the screw.
You use a power drill for two tasks:
To create starter holes: These holes are for the fasteners (screws and nails) you use. Pre-drilling makes inserting fasteners easier and helps prevent the wood from splitting. You need a 1/64-inch drill bit for most of the pre-drills. Some beehive designs call for a 1-inch drill bit, and some four-frame observation hives call for 1 1/2-inch and 3-inch drill bits. You need a 1/8 inch drill bit for making frames.
To attach screws: You typically use two types of screws — deck screws and lath screws. To keep it simple, you can use all screws with a #2 size Phillips drive. So you need a #2 size Phillips head bit for your power drill.
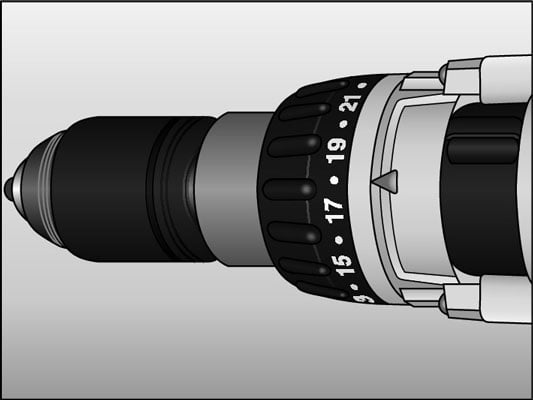 Most cordless drills let you select the amount of torque.
Staple gun: Some of the projects involve attaching hardware cloth and other materials to hive and equipment parts. A hand-held, heavy-duty staple gun is the perfect match for the job. Add a supply of 3/8-inch staples and you’re good to go.
Tape measure: A standard, retractable, metal tape measure is just fine for the projects in this book. Because the measurements in this book are in inches (versus metric), make certain your tape measure is calibrated in inches.
Tin snips: Some beehive designs use galvanized metal hardware cloth for ventilation and to keep the bees contained in an area. In addition, some of the roof assemblies call for aluminum flashing.
Chances are your kitchen scissors or that pair of pliers in your toolbox won’t make much headway when it comes to cutting these metals. You need something beefier. A good pair of tin snips will slice through this stuff with ease.
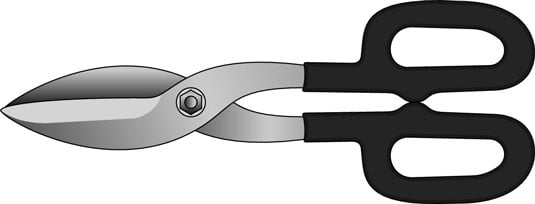 Tin snips cut through rugged hardware cloth and aluminum flashing like a hot knife through butter.