By default, in Word 2013 a picture is inserted as an inline image, which means it’s treated like a text character. However, that’s not usually the best way for an image to interact with the text.
When you want the text to flow around an image, change the image’s Text Wrap setting. This way, if the text moves (due to editing), the graphic stays put.
In a Word 2013 document with a picture, select a picture.
The Picture Tools Format tab becomes available.
Choose Picture Tools Format→Wrap Text to open a menu of text wrap settings.
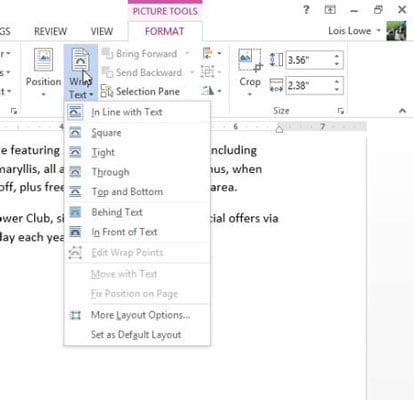
Choose Square.
Drag the picture upward and drop it at the left margin so that it top-aligns with the top of the first body paragraph.

For extra practice, try each of the other Wrap Text settings and compare their results. You don’t have to select each of the settings; just pointing at a setting shows a preview of it in the document.
The photo currently in the document is rectangular, so you don’t see any difference among some of the settings. To understand the differences among them, you must use a piece of clip art with a transparent background for your experiments.
Press Delete to delete the picture.
If needed, reposition the insertion point at the beginning of the first body paragraph.
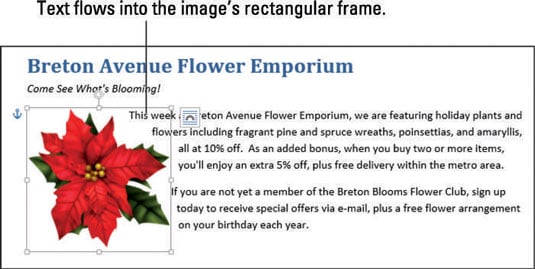
Using the Online Pictures command, locate and insert a poinsettia clip art image (a drawing, not a photograph) that has a white (transparent) background.
Choose Picture Tools Format→Wrap Text and choose Square.
The text wraps around the clip art with a rectangular border.

Notice the icon next to the selected picture that looks like an arch? You can click that button to open a floating version of the Wrap Text button’s menu, as an alternative to clicking the Text Wrap button on the Ribbon.
Click the Wrap Text button again and choose Tight.
The text wraps around the image itself, not its rectangular frame. If the text does not wrap around the image, try a different clip art image; the one you chose might not have a transparent background, even though it looks like it does.
If any stray bits of text appear below and to the left of the image, you can fix the stray text by adjusting the image’s wrap points, as explained next.
Click the Wrap Text button again and choose Edit Wrap Points.
Black squares and a dotted red outline appear around the clip art image.
These usually invisible points determine where the text is allowed to flow when text is set to Tight (that is, to wrap tightly around the image).
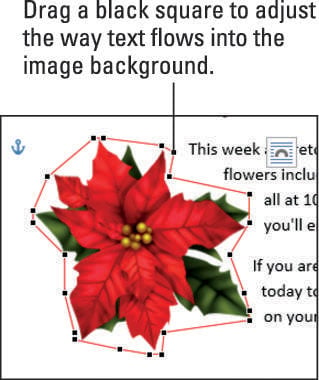
If needed, drag one or more of the black squares outward to block the space where the stray text appears so that it can’t flow there anymore.
Click away from the image to deselect it and finalize the change in its wrap points.
Save the changes to the document.