Planner is a visual project management solution which allows you to create and assign (or re-assign) tasks, and track progress from an individual level under My tasks all the way across organizational levels from the Planner Hub.
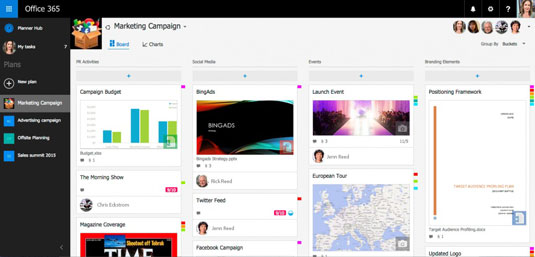
When you create a plan in Planner, you automatically get a Board. From the Board, you can create tasks with due dates, documents, categories, and other relevant information. The task items are presented in a Card that can be color-coded and moved around. Team members can enter comments on the card, similar to how the conversation feature works in Groups (shown).
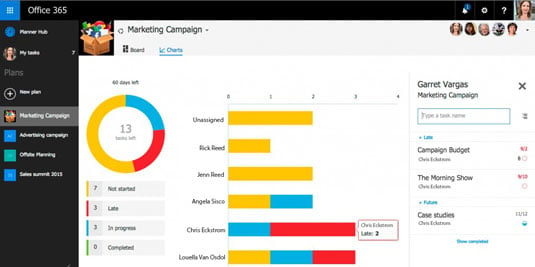
When you switch to the Charts view, you see interactive charts that can be drilled down for more details. For example, clicking on part of the histogram allows you to see what's behind schedule for the plan.
The Planner Hub (left side of the following figure) gives you an all-up view of the plans of which you are a member, as well as the plans created as a "public" plan. When you add a plan to Favorites by clicking the ellipses to the right of the plan name, that plan is added to the Favorite plans board with a chart that quickly tells you the status of tasks not started, late, in progress, and completed.
To create a new plan, follow these steps:
- Log on to the Office 365 portal.
- From the app launcher, select Planner.
- From the left pane, click + New plan.
- Enter the required information and click OK.