If you're going to use slicers on an Excel dashboard, you should do a bit of formatting to have your slicers match the theme and layout of your dashboard. The following discussion covers a few formatting adjustments you can make to your slicers.
Size and placement of slicers
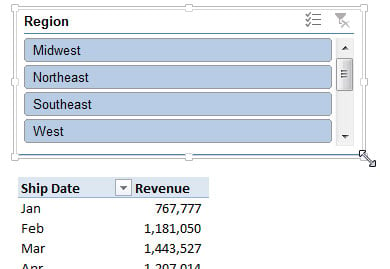
A slicer behaves like a standard Excel shape object in that you can move it around and adjust its size by clicking it and dragging its position points.
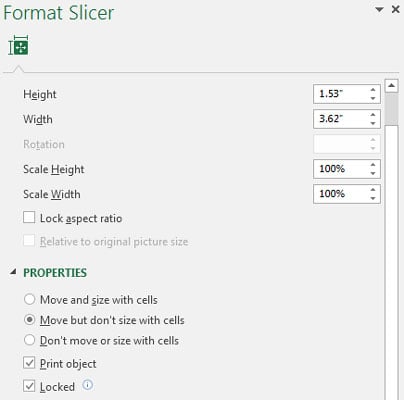
You can also right-click the slicer and select Size and Properties from the menu that appears. This brings up the Format Slicer pane, as shown, allowing you to adjust the size of the slicer, how the slicer should behave when cells are shifted, and whether the slicer should appear on a printed copy of your dashboard.
Data item columns in slicers
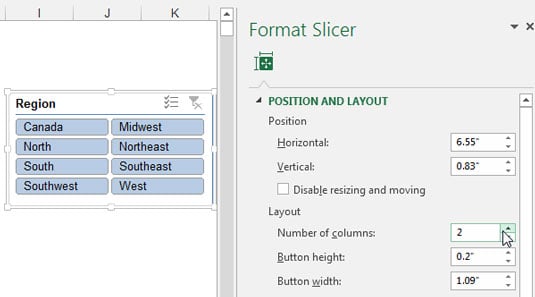
By default, all slicers are created with one column of data items. You can change this by right-clicking the slicer and selecting Size and Properties from the menu that appears. This brings up the Format Slicer pane.
Under the Position and Layout section, you can specify the number of columns in the slicer. Adjusting the number to 2, as demonstrated here, forces the data items to be displayed in two columns, adjusting the number to 3 forces the data items to be displayed in three columns, and so on.
Other slicer settings
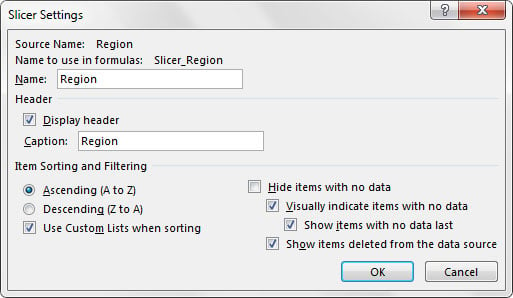
Right-clicking your slicer and selecting Slicer Settings from the menu that appears activates the Slicer Settings dialog box, shown here. With this dialog box, you can control the look of the slicer's header, how the items in your slicer are sorted, and how filtered items are handled.