
You can share files in Excel 2013 in a variety of ways. Keep in mind when making any last-minute changes in a shared workbook, that some of Excel’s editing features become unavailable to you and any others working in the file. One way to share a workbook is by turning on file sharing as follows:
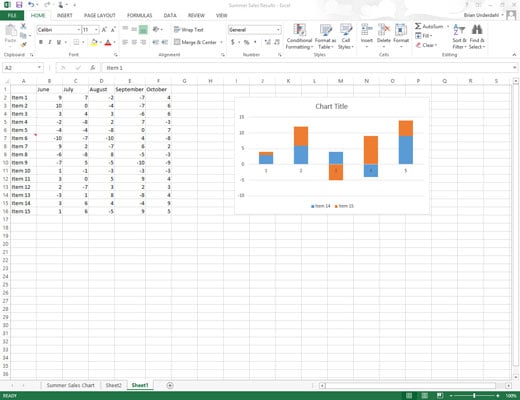
Open the workbook to be shared and then make any last-minute edits to the file, especially those that are not supported in a shared workbook.
Before turning on file sharing, you may want to save the workbook in a special folder on a network drive to which everyone who is to edit the file has access.
Choose File→Save As or press Alt+FA.
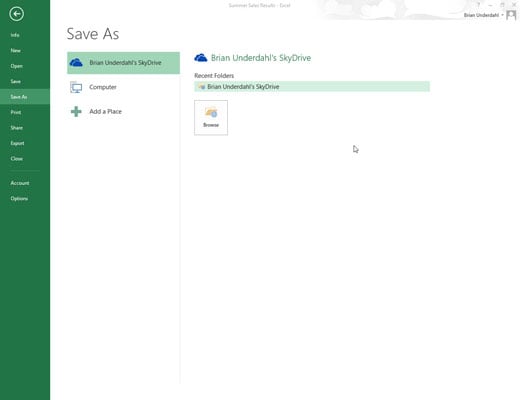
Then select your SkyDrive or the network drive on the Save As screen followed by the folder in the Save As dialog box in which you want to the make the change tracking version of this file available before you click the Save button.
Click the Share Workbook command button on the Review tab of the Ribbon or press Alt+RW.
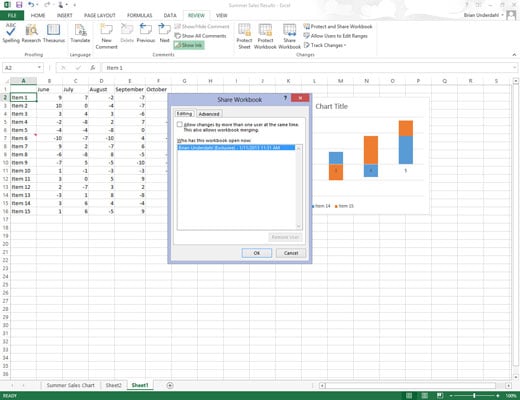
Excel opens a Share Workbook dialog box. This dialog box contains two tabs: an Editing tab that enables you to turn on file sharing for all the users who have the file open, and an Advanced tab, where you control how the amount of time that changes is tracked and how updates are handled.
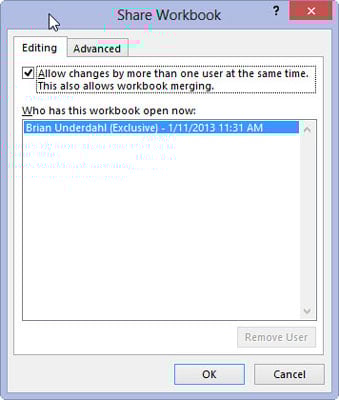
Select the Allow Changes by More Than One User at the Same Time check box on the Editing tab.
By default, Excel maintains a Change History log for 30 days. If you wish, you can use the Advanced tab settings to modify whether Excel maintains this Change History log (necessary if you want to reconcile and merge changes) or to change how long the program saves this log.
You can also change when changes are updated, how conflicts are handled, and whether your print settings and data filtering settings are shared.
(Optional) Click the Advanced tab and then change the options on this tab that affect how long a change log is maintained and how editing conflicts are handled.
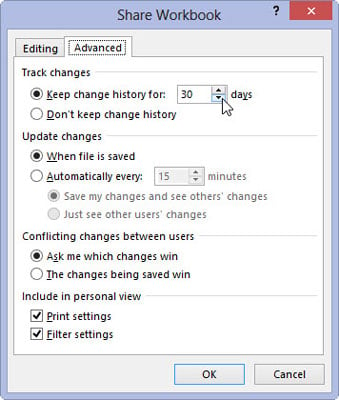
You may want to reduce the change history setting for files that are frequently edited so that the log won’t be quite so large.
Click the OK button to close the Share Workbook dialog box.
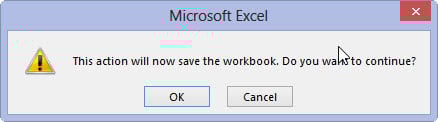
As soon as Excel closes the Share Workbook dialog box, an alert dialog box appears, telling you that Excel will now save the workbook and asking you if you want to continue.
Click the OK button in the Microsoft Excel alert dialog box to save the workbook with the file sharing settings.

Immediately after you click OK and close the alert dialog box, Excel saves the workbook, and the [Shared] indicator appears at the end of the filename on the Excel program window’s title bar.