
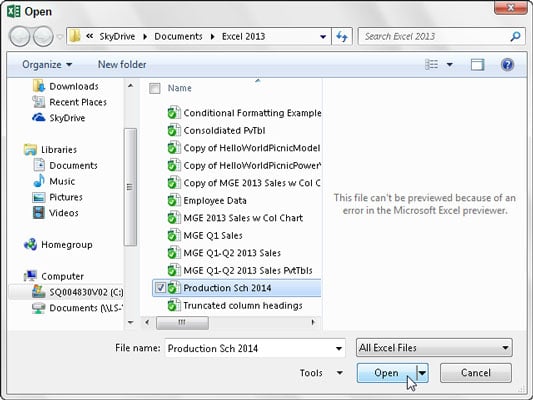
After you select a folder and drive in the Excel 2013 Open screen or press the Ctrl+F12 shortcut, Excel displays an Open dialog box. The Open dialog box is divided: the Navigation pane on the left, where you can select a new folder to open, and the main pane on the right showing the icons for the subfolders in the current folder, and the documents that Excel can open.
The folder with contents displayed in the Open dialog box is either the one designated as the Default File Location on the Save tab of the Excel Options dialog box, the folder you last opened during your current Excel work session, or the folder you selected in the Open screen of the Backstage view.
To open a workbook in another folder, click its link in the Favorite Links section of the Navigation pane or click the Expand Folders button (the one with the triangle pointing upward) and click its folder in this list.
If you open a new folder and it appears empty of all files (and you know that it’s not an empty folder), this just means the folder doesn’t contain any of the types of files that Excel can open directly (such as workbooks, template files, and macro sheets).
To display all the files, whether or not Excel can open them directly (meaning without some sort of conversion), click the drop-down button that appears next to the drop-down list box that currently displays All Excel Files and then click All Files on its drop-down menu.
When the icon for the workbook file you want to work with appears in the Open dialog box, you can then open it either by clicking its file icon and then clicking the Open button or, if you’re handy with the mouse, by just double-clicking the file icon.
You can use the slider attached to the Change Your View drop-down list button in the Open dialog box to change the way folder and file icons appear. When you select Large Icons or Extra Large Icons on this slider, the Excel workbook icons show a preview of the data in the upper-left corner of the first worksheet when the file is saved with the preview picture option:
To enable the preview feature when saving workbooks in Excel 2013, select the Save Thumbnail check box in the Save As dialog box before saving the file for the first time.
To enable the preview feature when saving workbooks in Excel 97 through 2003, click the Save Preview Picture check box on the Summary tab of the workbook’s Properties dialog box (File→Properties) before saving the file for the first time.
This preview of part of the first sheet can help you quickly identify the workbook you want to open for editing or printing.