
The Animation pane in PowerPoint 2013 is a task pane that appears to the right of the slide and displays important information about the animations you have added to your slides. The Custom Animation task pane is hidden by default, but you should turn it on before you start adding custom animations to your slides.
To turn on the Custom Animation task pane, just click the Animation Pane button in the Advanced section of the Animation Ribbon tab.
To animate an object on a slide, follow these steps:
In Normal View, call up the slide that contains the object you want to animate and then click the object to select it.
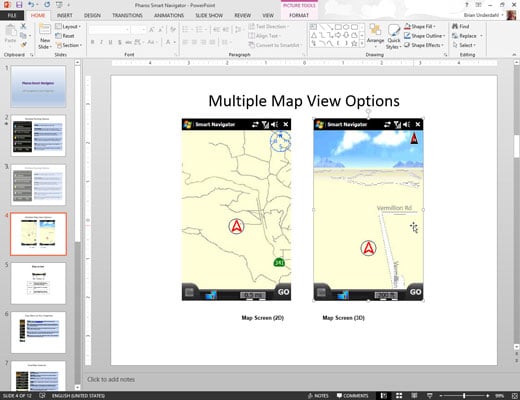
For example, to animate text paragraphs, select the text placeholder that holds the text.
If you haven’t already done so, click the Animation Pane button.
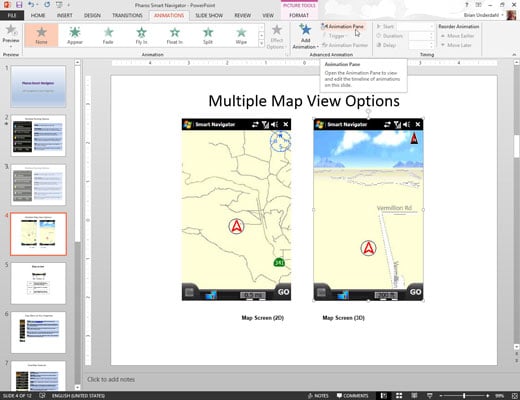
This step opens the Custom Animation task pane.
Click the Animations tab on the Ribbon. Click the Add Animation button and then select the effect you want to create from the menu that appears.
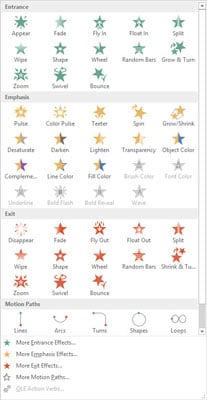
Clicking the Add Animation button menu reveals a menu that lists the four types of effects: Entrance, Emphasis, Exit, and Motion Path.
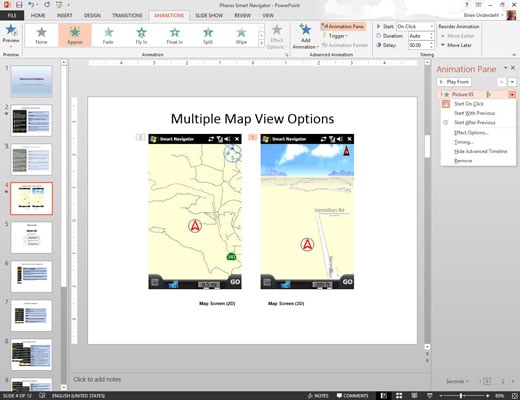
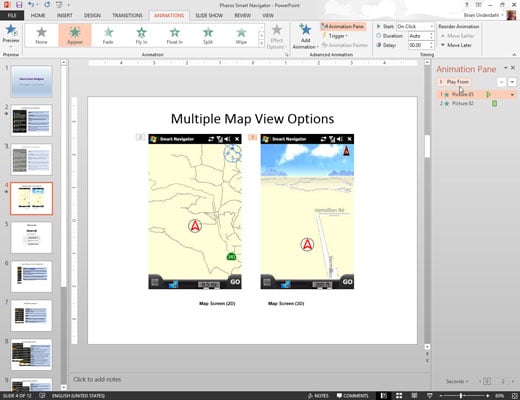
The entrance effect you selected is added to the Animation pane.
Note that each of the paragraphs in the text placeholder has been assigned the number 1 or 2 to indicate the sequence in which the paragraphs will be animated. In the Custom Animation pane, the animation that was added in Step 4 is given the single number 1; number 2 doesn’t appear in the pane.
That’s because although this animation is applied to two separate paragraphs, it is treated as a single animation in the Custom Animation pane.
However, if you click the double-down arrow beneath the animation, the two separate paragraph animations will be listed individually.
(Optional) Use the Effect Options control to select additional options for the effect.
For example, if you choose a Fly In effect, you can use the Effect Options control to specify the direction from which you want the text to fly.
To preview the animation, click the Play From button at the top of the Animation task pane.
Or, if you prefer, just run the slide show to see how the animation looks. If nothing happens, click the mouse button to start the animation.
If you add more than one effect to a slide, the effects are initiated one at a time by mouse clicks, in the order you create them. You can drag effects up or down in the custom animation list to change the order of the effects.