
If you want to enter bills directly in the Accounts Payable register, follow these steps:
- Choose Lists → Chart of Accounts or click the Chart of Accounts icon on the home page.
The Chart of Accounts opens.
- Open the Accounts Payable account.
When QuickBooks displays your Chart of Accounts, double-click the Accounts Payable account in the list. You see the Accounts Payable register window. The cursor is at the end of the register, ready and waiting for you to enter the next bill.
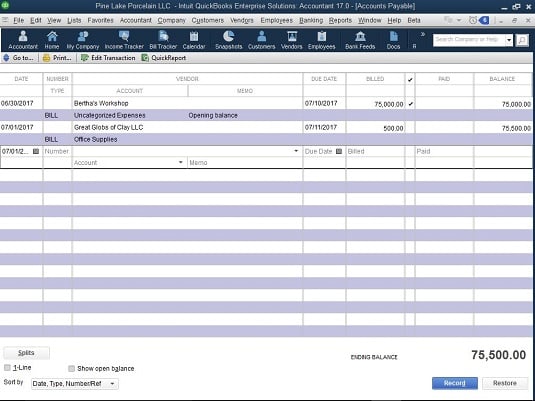
- Fill in the information for your bill.
Enter the same information that you would if you were filling in the Enter Bills window. In the Vendor text box, click the down arrow and choose a name from the Vendor list. If you enter a vendor name that QuickBooks doesn’t recognize, you see the Vendor Not Found message box, and QuickBooks asks you to give information about this new, mysterious vendor. Either click Quick Add to have the program collect the information from the register as you fill it out or click Set Up to see the New Vendor dialog box. You have to select an account name. You can probably find the right one in the Account drop-down list; if you can’t, enter one of your own. You see the Account Not Found message box, and QuickBooks asks you to fill in information about this new account. If you decide while you fill out the register that you want to be reimbursed for this check or that you want to track expenses and items, click the Edit Transaction button to see the Enter Bills window. Fill in the Enter Bills window. When you finish filling in the window, click Save & New. You’re back where you started: in the Accounts Payable window.
See the Splits button? This Splits button works the same as the Splits button in the bank account register window. When you click Splits, QuickBooks provides additional rows for inputting expense and class information.
- When you fill in all the information, click Record.
The Restore button, located just right of Record, is there in case you fill out the register but decide that you want to start all over again before you’ve recorded the transaction. Click Restore to clear the information onscreen, and you have a clean slate.